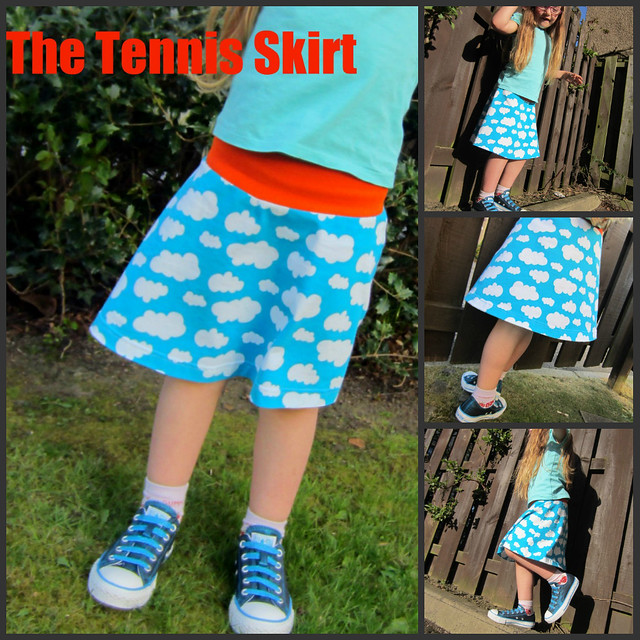
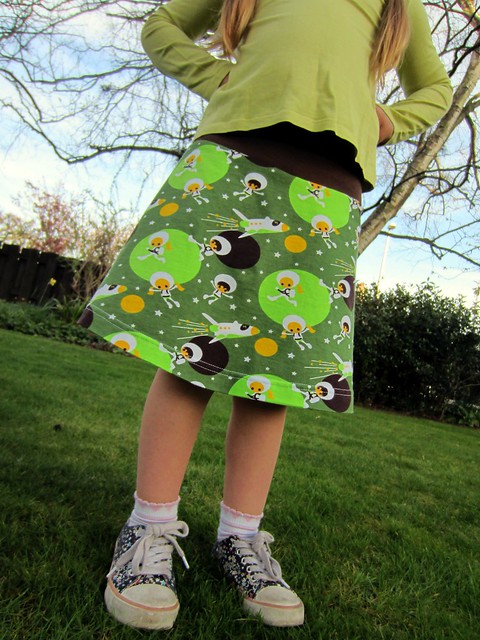
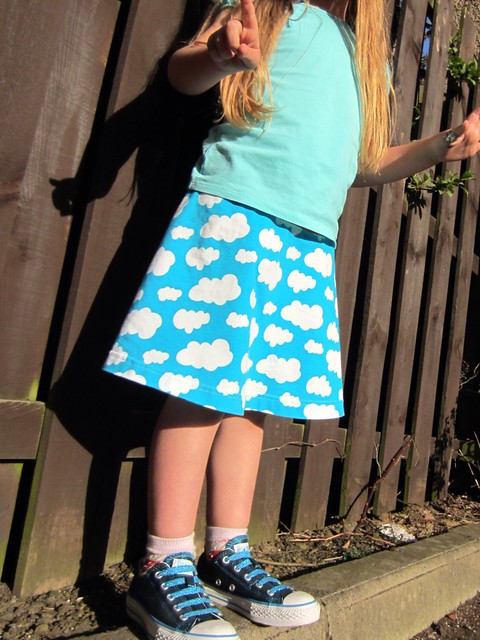
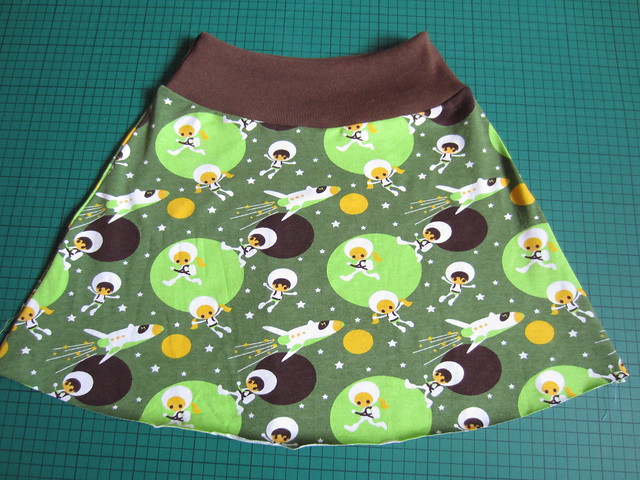
After so many fantastic guest posts in the 'Make it in a Metre' series, I reckon it's high time that I contribute a project tutorial! So here we go with The Tennis Skirt, which is a very quick to sew a-line skirt using knit fabric. The hem is full and curved so there's quite a lot of flounce and body. From cutting to finishing, the skirt can be completed in about a half an hour and requires half a metre of fabric at most! I can definitely see myself knocking a dozen of these out for summer basics. The sizes I've included in the file are 18m/2T, 3T/4T, and 5Y/6Y.
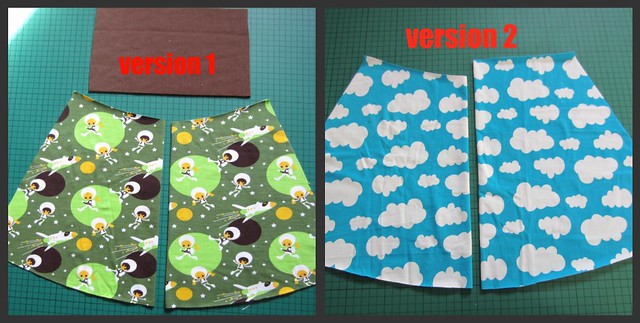
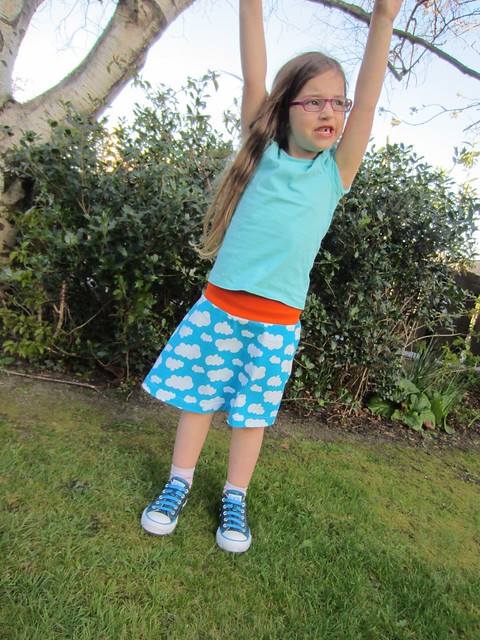
Version one is seen here:
And version two here:
I made one small change between versions one and two... the combination of my daughter's rounded belly and bum meant the hemline was riding higher in the back so version two has a higher rise in the back piece. If your recipient has this body type I recommend using both front and back pieces; if your recipient is more straight up-and-down through the torso and hips you can use the curved 'front' piece for both the front and the back.
Materials required:
1/2m knit fabric for skirt body
1/4m ribbing or cotton lycra (or anything with lycra / spandex / elastane and good stretch recovery) for the waistband
Stretch needles for sewing with knits
Pattern pieces (download the pattern and assembly instructions here)
Tape to assemble the pattern
Optional but recommended: a double needle for hemming
Cutting your fabric:
If your fabric is dimensional you will need to cut the skirt pieces side by side (requires slightly more fabric with some wastage between the pieces)
If your fabric is not directional, cut one piece on the fold first, then refold and cut the second piece upside down (practically no fabric wastage!)
Your finished pattern pieces will look like this:
Sewing your skirt:
I have used a serger for the construction only because I have one. But it's not a problem to sew the skirt on a regular machine! You will need to use a stretch needle, a stretch stitch (either a pre-set stitch like the lightening bolt, triple stretch, or overlocking stretch, or if your machine doesn't have a pre-set a narrow zigzag), and reduced pressure on your foot to reduce wavy-ness. If you can't reduce the pressure on your machine, I've heard others swear by a walking foot but I've never tried one.
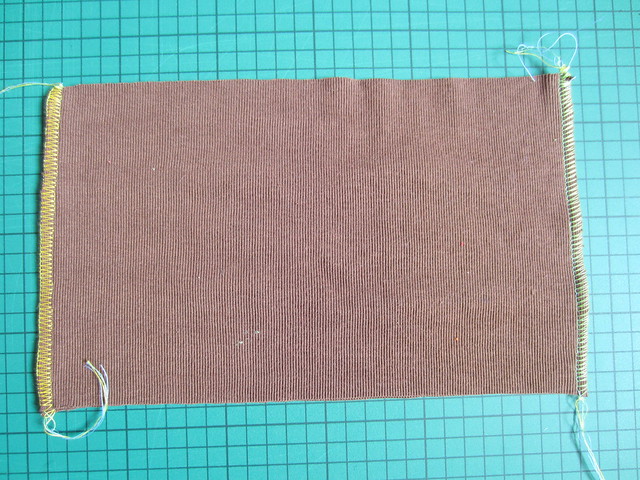
Step one: Sew both side seams of your waistband:
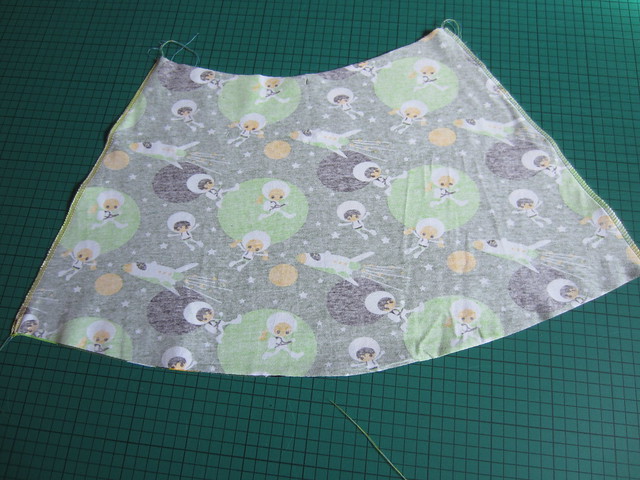
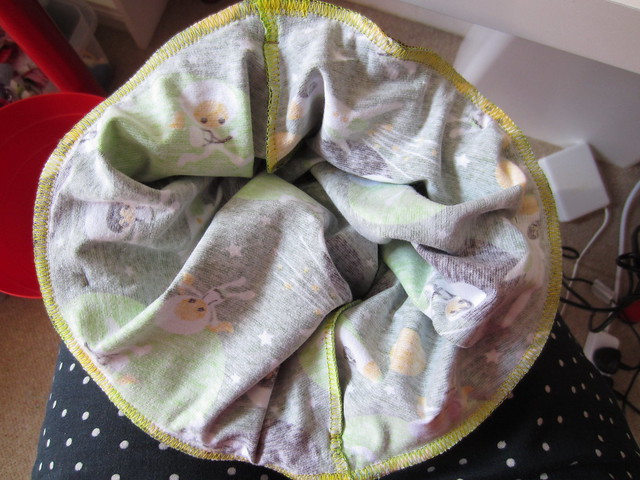
Step two: Sew both side seams of your skirt:
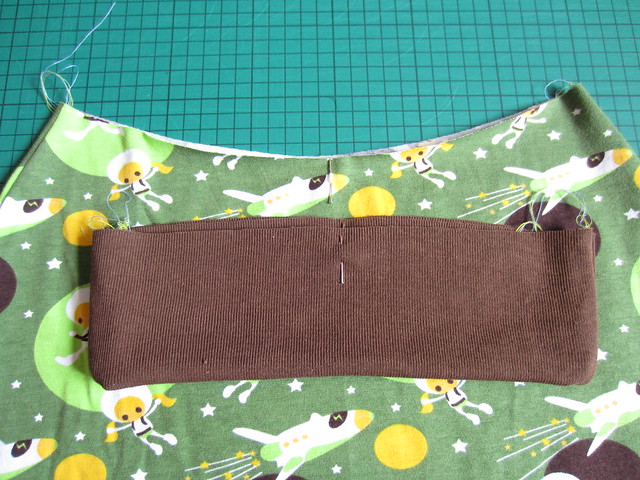
Step three: Fold waistband down, fold in half an place pins at centre front and back. Fold skirt in half and place pins at centre front and back. Now you have all your quartermarks to match.
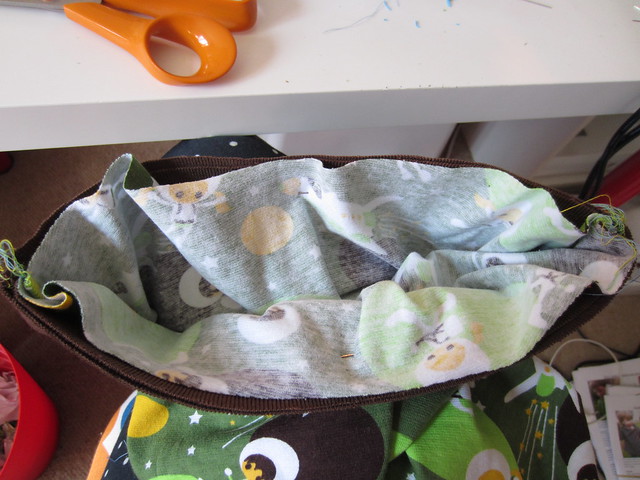
Step four: With all the raw edges at the top, pin the waistband to the skirt, matching up the side seams and the centre front and back pins. As you can see, there is excess skirt fabric between each of the quartermarks that the waistband will be stretched to fit as you sew.
Step five: Starting at a side seam, drop the needle into the waistband / skirt. Holding the fabric at the next quartermark, stretch the waistband only so that the edges match up without wrinkling. (If you have curly edges on the skirt fabric that you find hard to tame, this tute should help!). While holding taut, sew up to the quartermark, stop in the down position and repeat.
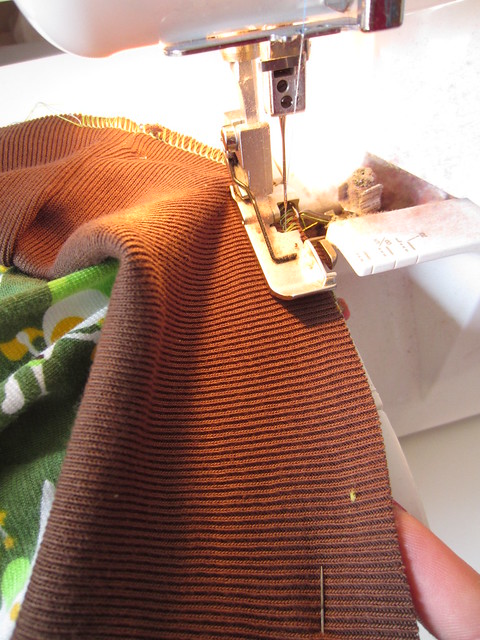
Step six: continue this process all the way around.
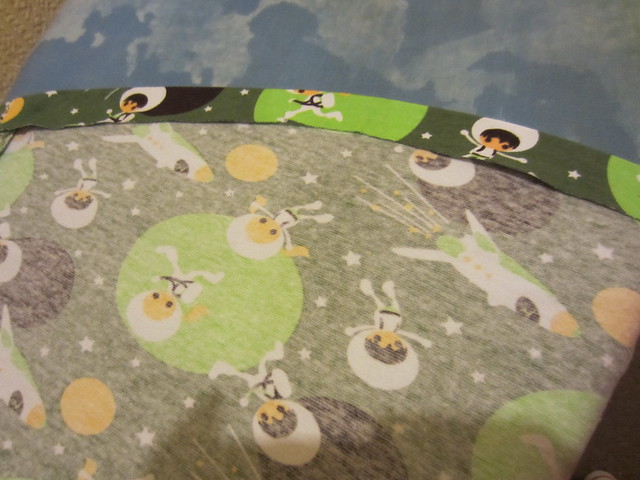
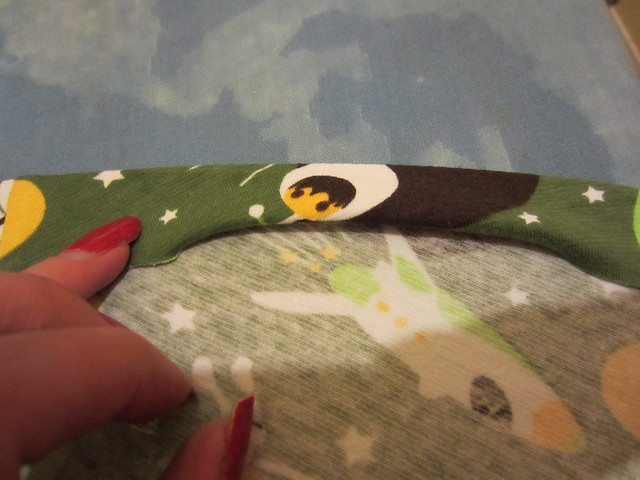
Step seven: Flip the waistband up. Press the seam allowance down to the skirt so it's flat and smooth.
Step eight: Starting the the side seam, press the hem of the skirt up one inch. Continue this all the way around. Where the curve of the hem is the deepest, gently pull the fabric so it follows the curve evenly.
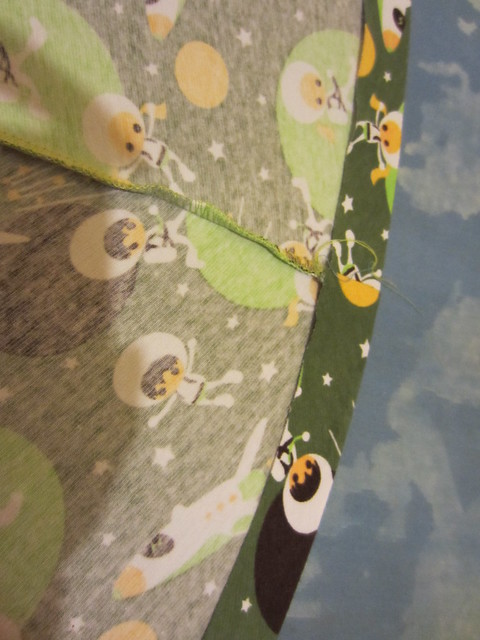
**Tip**: What works the best for me is to brace the fabric against the ironing board with my hip while pulling with my left hand and ironing with my right. When it's not being pulled it looks like this:
See how there are small sections that lift up a tiny bit? When stretched just a very small amount whilst sewing they go completely flat.
If you are not going to use a double needle for hemming and instead want to hem with a normal single needle, after you have pressed an inch all the way around, additionally press the raw edge under a quarter of an inch all the way around.
Step nine: Hemming your skirt.
I am using two needles with my Coverstitch, again, because I have one. The result with a double needle in a regular machine is practically the same: there's a row of parallel lines on the right side and a weave on the wrong side. (There's an intro to twin needles here or here). When coverstitching or using a double needle you sew with the right side facing up, which can take a little bit of practise to master. It can help to use twin needles with quite a bit of width between them, and to draw a faint line with chalk on the right side along the hemming line.
If you are sewing with a single needle, you can sew from the wrong side (so it is easier to follow) and I suggest lengthening your stitch to 3 or 3.5. You shouldn't need to do a stretch stitch because the hem is wide enough it won't be overly stretched or prone to snapping.
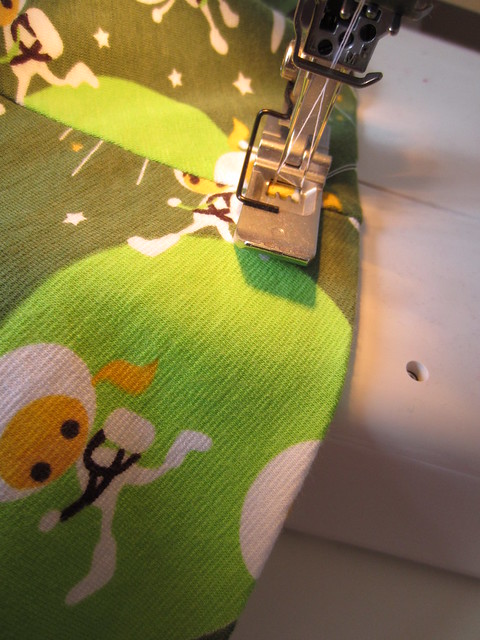
Starting at the side seam, sew your hem so that the raw edge underneath is being straddled by the two needles (or so both needles hit the hem if you want to be safe!). Pull ever so gently in front of the foot so it lies flat, and go slowly.
Continue all the way around until you're back to where you started.
You're done! Press the hem again if it needs flattening.
Then find a cute model and post it in the Flickr group :)



Love! I might make it with an integrated set of shorts out of my pink cloud fabric. I'll let you know how that works out.
ReplyDeleteOoo, let me know how that goes!
DeleteI was hoping you would do a free pattern/tutorial of the tennis skirt. Hooray!! I'm looking forward to trying the pattern out on one of my girls.:)
ReplyDeleteYou'll be churning them out super fast!
DeleteThe skirts look awesome. Would you mind if I used one of your pics along with a pointer to your blog to tell my readers about this tutorial. I often do sewing tutorial roundups on my blog.
ReplyDeleteThat's absolutely fine by me, thanks for asking :)
DeleteThis is going to sound dorky but I sm so glad you have and need a "version 2". It seems as if all the bloggers out there have skinny flat children and my daughter with the rounded tummy can be challanging to sew for at times. Love the skirt znd just got some "new" knits from the thrift store so I will be sewing tonite.
ReplyDeleteAck! # challenging. Too many typos from using my phone, sorry.
DeleteExcellent tutorial. I really must buy some nice knit fabric just as soon as the hubs gets paid again.
ReplyDeleteThanks for this! I am about to make my first foray into sewing with knits (eek!). Your series has persuaded me I can do it! Love this pattern and a really clear tutorial as usual. I have already blogged about the tunic dress I made from your pattern!
ReplyDeleteTime to dust off my serger and have a go I think. I've brought some cheap knit fabric off eBay for my first attempt before buying some of your fab fabric
ReplyDeleteI collected my fabric from the post office today and can't wait to have a go at this :)
ReplyDeleteSo simple and cute! :)
ReplyDeleteThis is perfect. I have 1/2 yard of the Sashop Pony Bloom by Sari Ahokainen. When I got it, I didn't think to much and only having half yard leaves very little that I can do with it. And my daughter has been asking for it since it arrived.
ReplyDelete