Sunday, 22 June 2014
Tutorial: Convertible Braided Strap Sundress
I'm up today as part of Melly Sew's 30 Days of Sundresses series with a super cute and versatile braided strap dress. This is my second year participating (last year's is here), make sure you check out the rest of the contributions on Melly's blog!
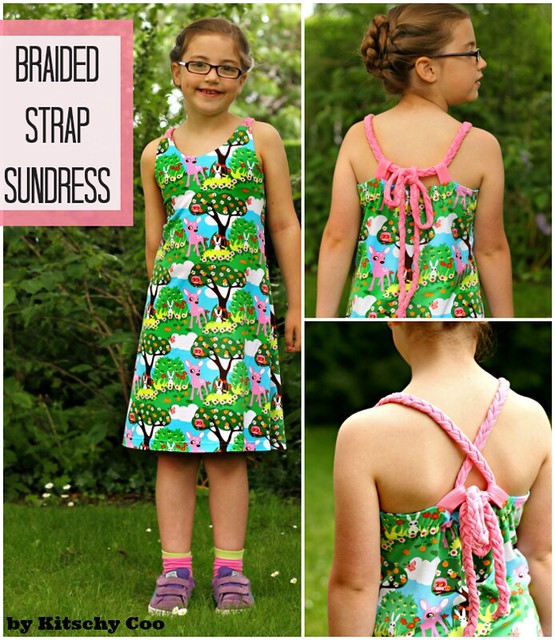
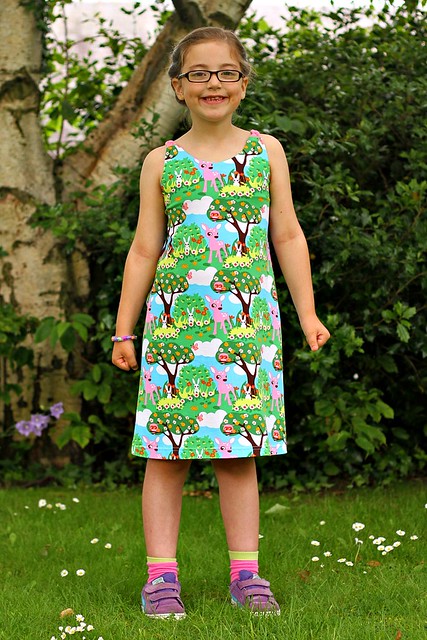
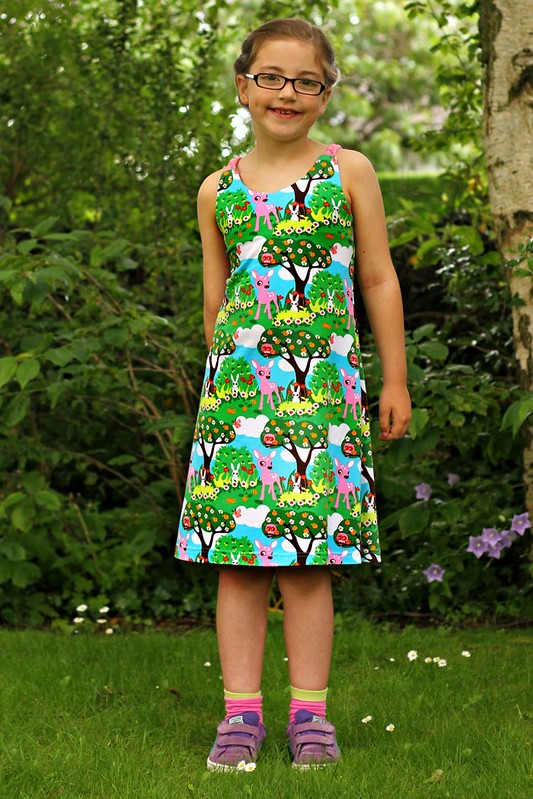
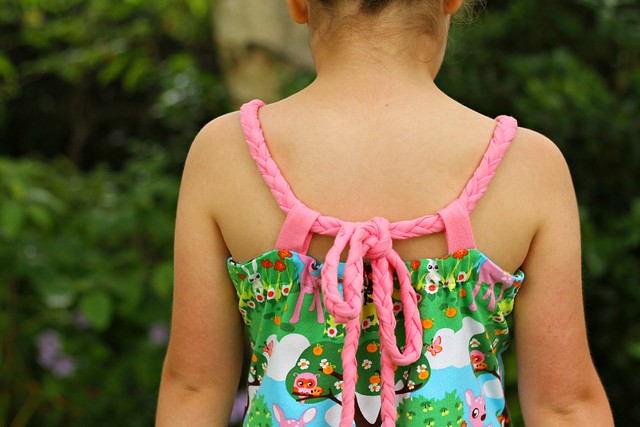
The sundress has a slight V-neck, a slim a-line shape, and two long braided straps. With various ways to tie the straps and the elasticated back I think Maia will be sporting this dress for several summers.
I'm offering the pattern download for this specific size for free HERE, it has finished garment measurements of 27" chest circumference, 29" shoulder to hem length and hits my sturdy and tall 7 year old just below the knee so I'd loosely deem it size 7 to 10 years old. If you're wanting a size different than that, it's not that difficult to draft a different size using a well fitting tank top as a starting point. This dress is made out of knits because I am me, but it should work for wovens too (although you should use a knit, ribbons, or something else that won't fray for the braids).
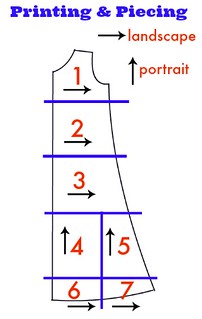
The royal blue lines are where you cut and piece to the adjacent pieces. I've nested the Front, Back, Front Facing, and Back Facing so you only have to print 6 pages.
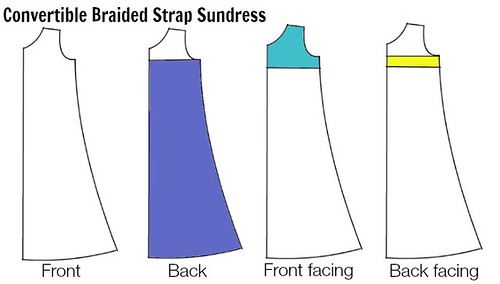
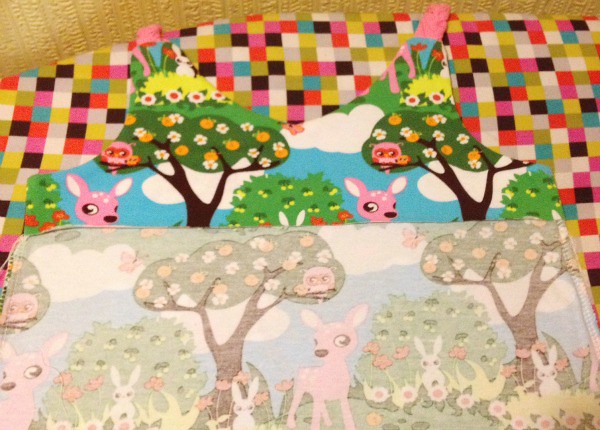
All of the cutting instructions are written on the pattern, but in case you can't visualise what I'm talking about regarding how the Back, Front Facing, and Back Facing relate to the Front piece, this diagram should help!
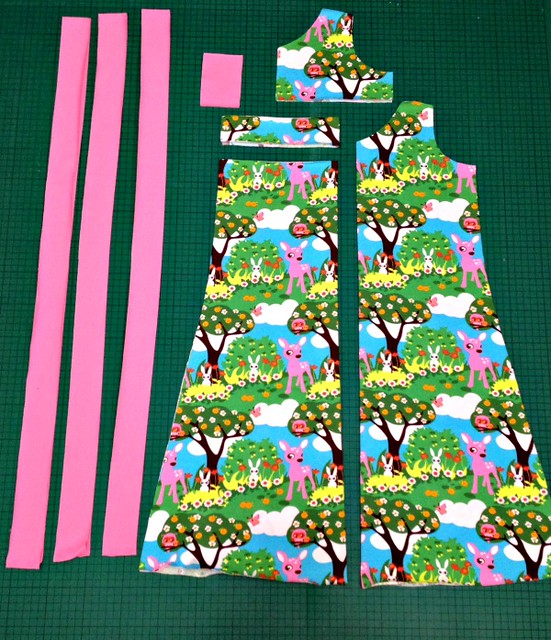
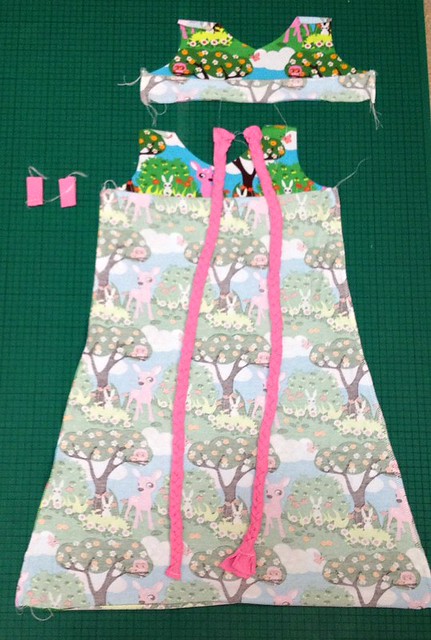
Cut your pieces: one front, one back, one front facing, one back facing, two tabs, and six strips for braiding.
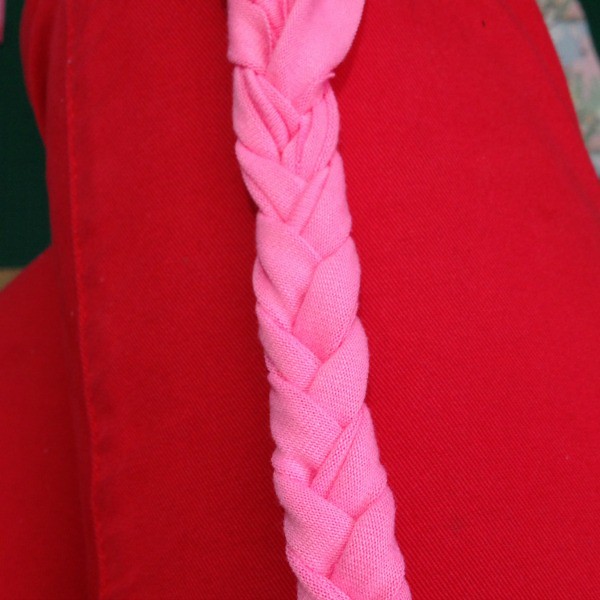
Sew or pin the ends of three braid strips together. Start braiding the strips. At the very beginning you should braid loosely so it's more-or-less flat; it'll be easier to attach to the dress if it's not tight and thick. Continue braiding until you get to the end.
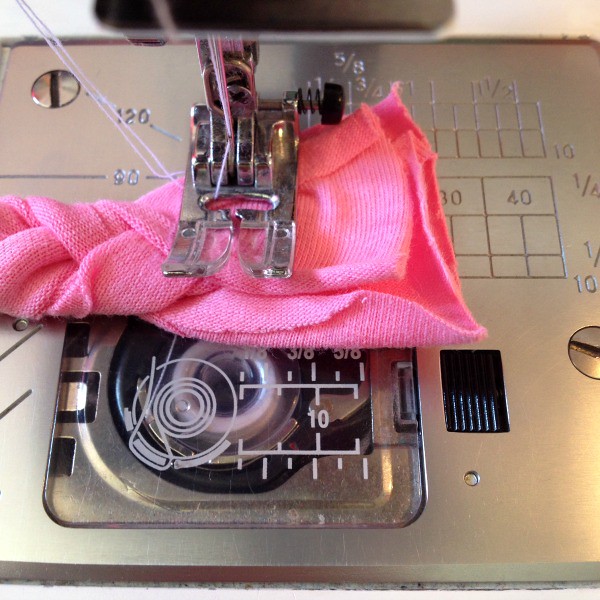
Secure the ends. Repeat for other braid.
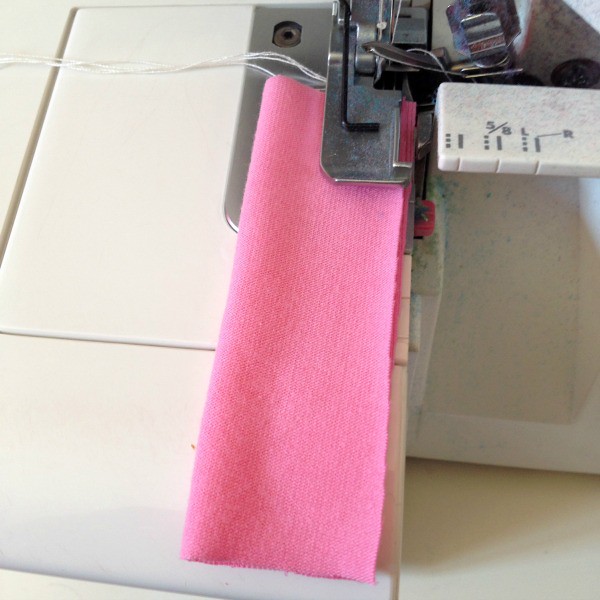
Right sides facing, fold a tab in half vertically and sew. Repeat for other tab. Turn tabs right side out and press well so the seam is in the centre.
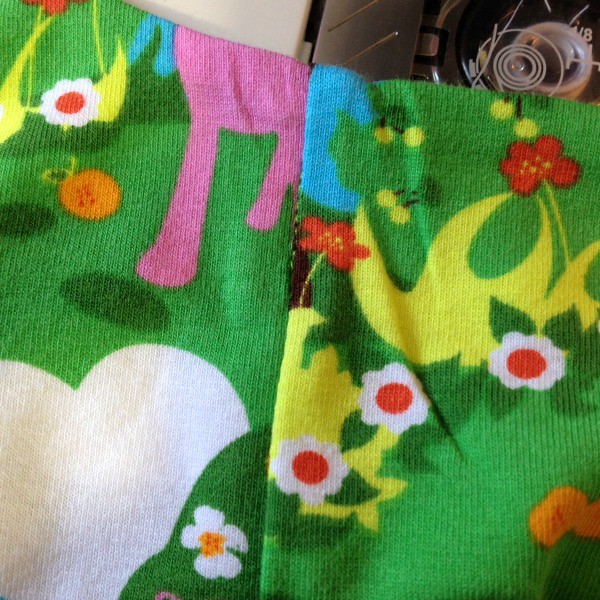
Right sides facing, sew the side seams of the front piece to the back piece. Right sides facing, sew the side seams of the front facing to the back facing. Optional: finish the bottom edge of the facing. I didn't because I was using a knit. This is what you should have so far.
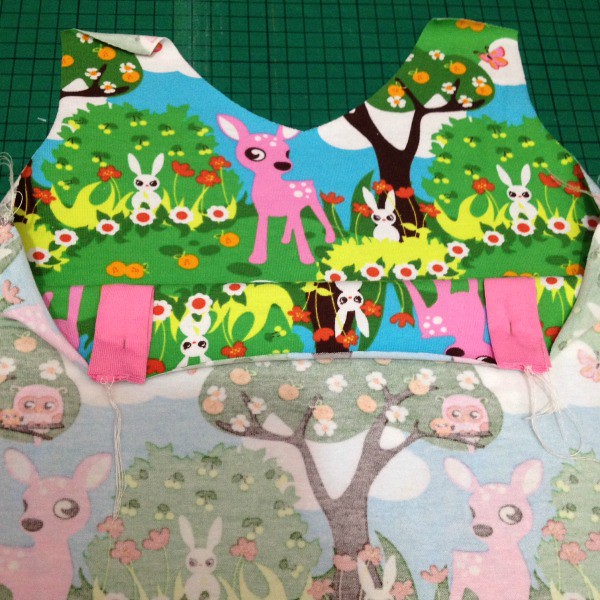
Fold a tab in half and pin in position on the back of the dress facing down. Baste in place within the seam allowance. Repeat for other tab.
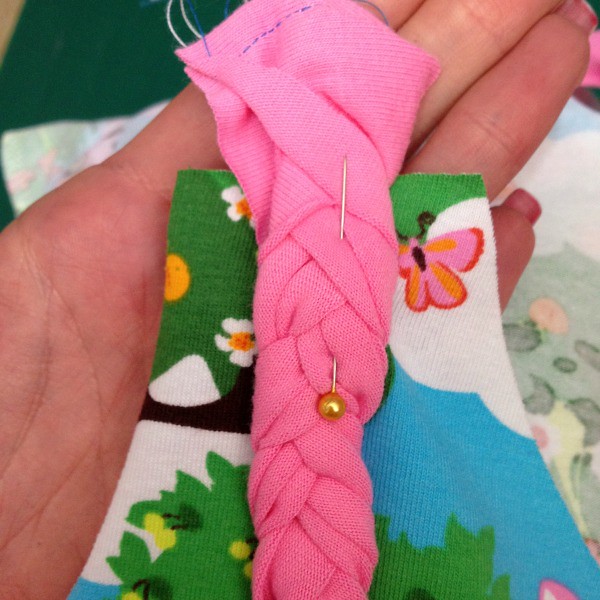
Pin the flat-ish end of a braid to the shoulder making sure it's in the centre and away from the seam allowances. I pull the strap up and over the top edge so I'd still be able to clearly see it after the facing is pinned on top. Baste in place. Repeat for other strap.
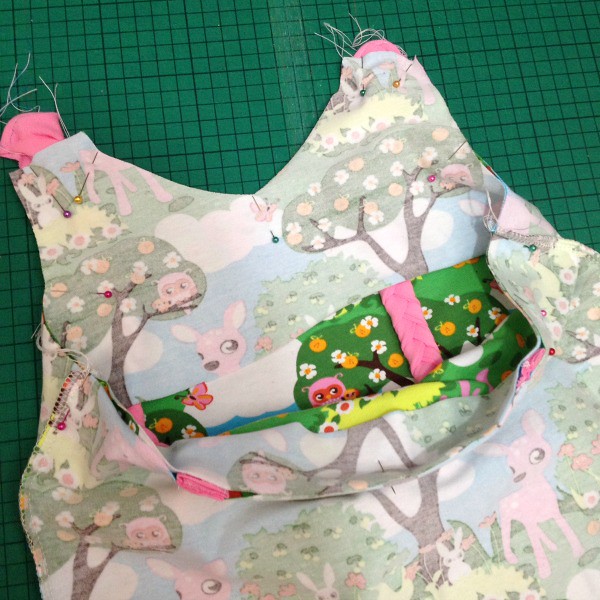
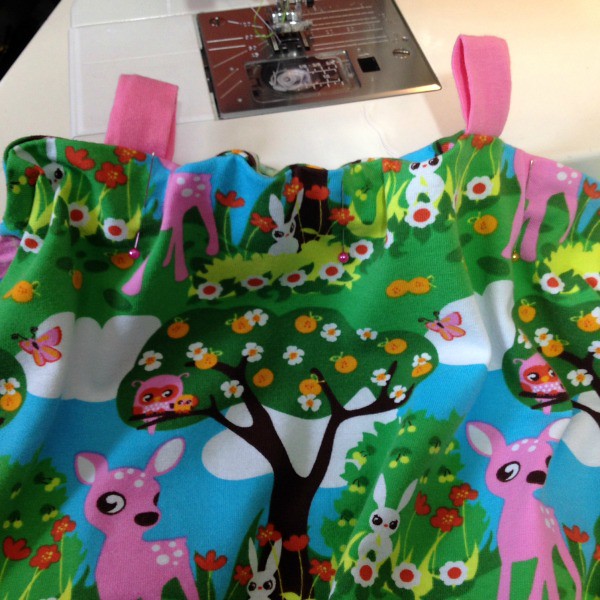
Right sides facing, slip the facing over the dress and match the raw edges all the way around. Pin regularly. This is how it will look.
Starting at a side seam, start sewing across the back edge, over the side seam, and up around the arm curve. When you get to where the strap is, use your fingers to make sure you are not catching any bit of the braid in the stitch, and sew as close to the strap as you can. Pivot and sew the top edge of the strap, pivot and sew down towards the neckline, again using your fingers to make sure the strap isn't going to be caught. Pivot at the V and repeat the same process for the other side until you get back to where you started.
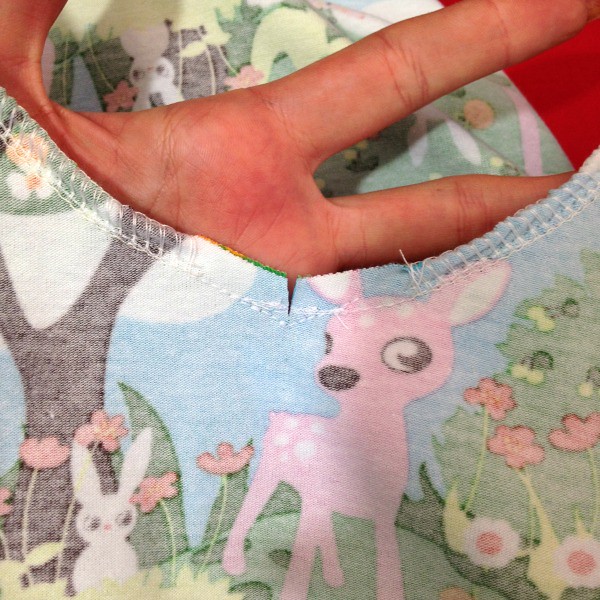
Clip a notch into the V but don't cut the threads! You can see that I added some stay-stitching within the seam allowance as well to give the V some extra stability.
Flip the facing towards the inside of the dress and press everything so that it lies flat. I roll the facing slightly towards the interior so it's invisible from the right side.
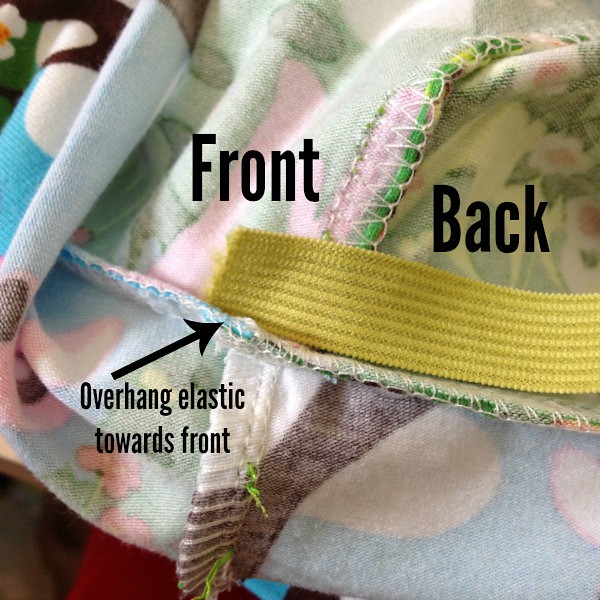
Cut a piece of elastic two inches shorter than the width of the back piece. Flip up the facing and pin one end of the elastic about 1/4" towards the front side of the side seam of the dress. Pin from the right side of the dress and not in-between in the wrong sides between the dress and facing or you could have trouble getting your pin out later!
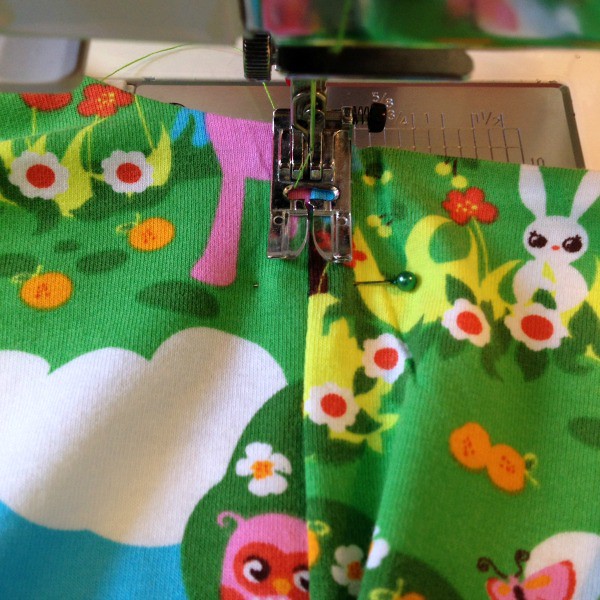
Flip the facing back down and ensure that the two layers still match up on the side seam. From the right side of the dress, stitch in the ditch (on the side seam). This will catch the dress, the facing, and the elastic in between.
Repeat the process with the other end of the elastic in the opposite side seam. See how it's nearly invisible!
Stretch the back of the dress so the elastic and facing are sitting flat and pin the layers together. Make sure the facing is still sitting neatly underneath, and that the elastic is up near the top of the channel away from where the channel stitching might catch it. Starting at one side seam and heading across the back of the dress, sew the bottom edge of the facing to the dress, ending at the opposite side seam. You now have a casing for the elastic. Press and hem the bottom edge of the dress and you're done!
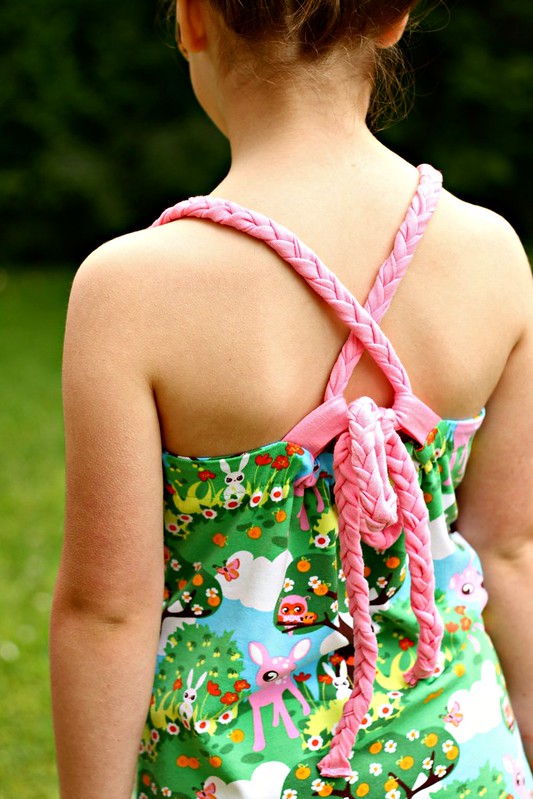
You can tie the braids crossover...
Or over the shoulder and through the tabs...
And probably a bunch of other ways as well.
Make sure you check out the rest of the Melly Sew's 30 Days of Sundresses series for great inspiration and free patterns and tutorials!



What a CUTE dress! I love that little bit of elastic in the back to keep it snug but still comfy! The braided straps are a nice detail. -Marci @ Stone Cottage Adventures
ReplyDeleteSo cute and so simple. The perfect qualities for a summer dress.
ReplyDeleteLove the idea...thank you for the inspiration! What a cutie you have :)
ReplyDeleteDo you think this would work in cotton. I'm a bit frightened of knits to be honest and have loads of fabric to use up.
ReplyDeletewww.clementinebuttercup.blogspot.co.uk
I haven't tried it in a woven but I totally think it would work! Just make sure you finish the bottom edge of the facing, and use something for the straps that doesn't fray :)
DeleteLove this dress!! I've got a Craft Gossip post that links to your pattern:
ReplyDeletehttp://sewing.craftgossip.com/free-pattern-girls-convertible-strap-sundress/2014/06/22/
--Anne
Thanks, Anne!
DeleteOh hello Rheya's new dress. I'm totally making one of these. Thanks for the free pattern xx
ReplyDeleteLove it Amanda! That back detail is great. Thanks for sewing along.
ReplyDeleteI love this! My 6-year old will be getting one this summer! Such beautiful fabric choice too!
ReplyDeleteLove this!!
ReplyDeleteSo cool, I love it! I also love how you've done Maia's hair!!
ReplyDeleteLove it so much I made an adult version. Thanks for the idea.
ReplyDeleteI am making this this week with some knit!! Thank you!!
ReplyDeleteI really want to try this - not used knits before - but I can't see how much fabric I need.... Am I being stupid?! Do I make up the pattern then measure it or does it actually say somewhere. Thanks.
ReplyDelete