Despite applying extreme pressure on the kids to chose a Doctor Who theme for which I could sew (I will never forgive Maia for turning down the Sister of Plenitude Cat Nurse), they had their hearts set on Minecraft Costumes. If you don't have children or know children, you might be unfamiliar with Minecraft and I am currently jealous of you. Jamie is obsessed, all of his friends are obsessed, Maia is working on it.
I couldn't find any conceivable way that I'd be able to utilise an actual skill of mine like sewing, so I was forced to deploy other crafting techniques (I hesitate to call them skills) of painting and 3-D construction. The good news is that Minecraft is a 16 bit game designed to look heavily pixelated with all straight edges so it was fairly straightforward to replicate.
What you need (a lot of these are do as I say, not as I do):
- White heavy paper (I used normal printer-weight and would definitely recommend something heavier so it doesn't wrinkle from the paint)
- Cardboard to make the box (I salvaged corrugated cardboard as that's what I had to hand but I would definitely recommend choosing something with a smoother surface)
- Paint (I used brown, black, white, red, peach, and yellow acrylics)
- Ruler and pencil
- Adhesive to fix your paper to your cardboard
- Tape to form your box
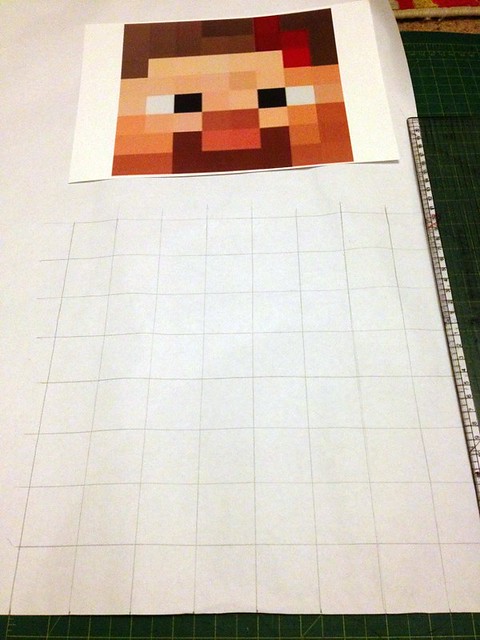
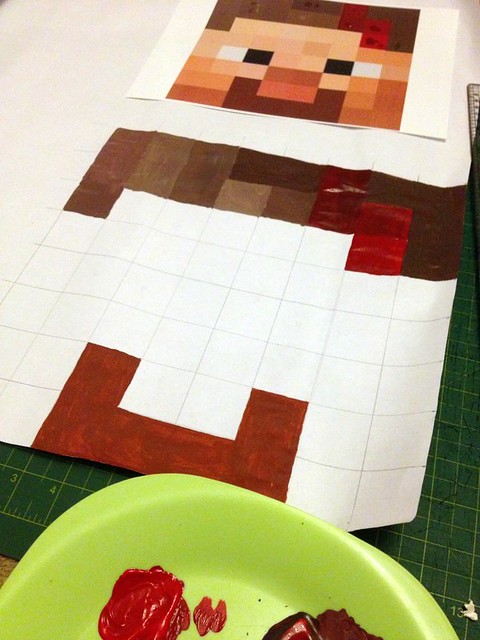
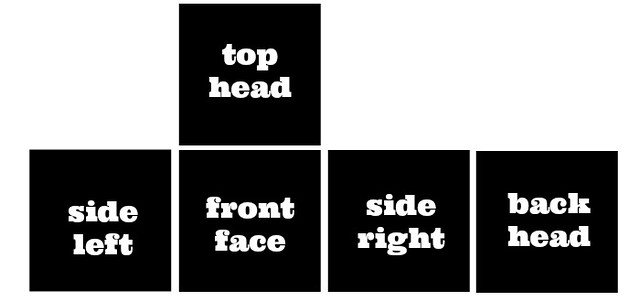
I wanted to concentrate most of my efforts on the front view so I Google image-searched and used this larger file for the basis of just the face. I blew it up and printed it on glossy paper so I'd have a big visual reference and also somewhere to get the shades correct before committing it to paper. Counting the pixels the face is 8x8 so I decided to use a 1.5" grid to yield a 12"x12" box. Using a ruler I made the grid on my paper five times (front face, side left, side right, back head, and top head). What I didn't do (but wish I had) was to add a margin of half an inch around all edges of the grid so it would be easier to wrap continuously around the box.
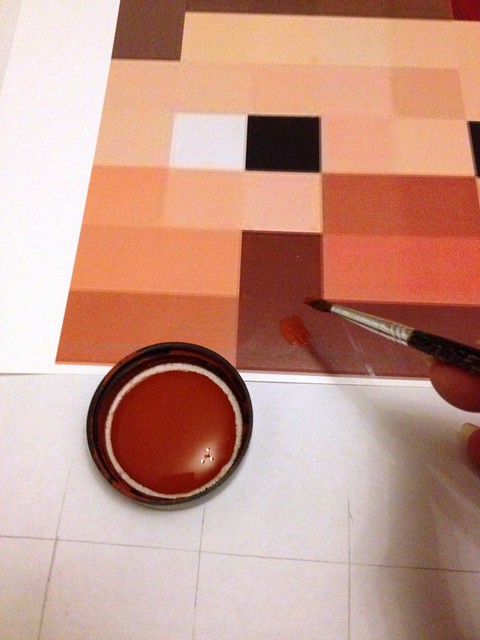
I started with a colour I already had and tested it right on the photo to make sure there was a colour-match before committing it to the grid.
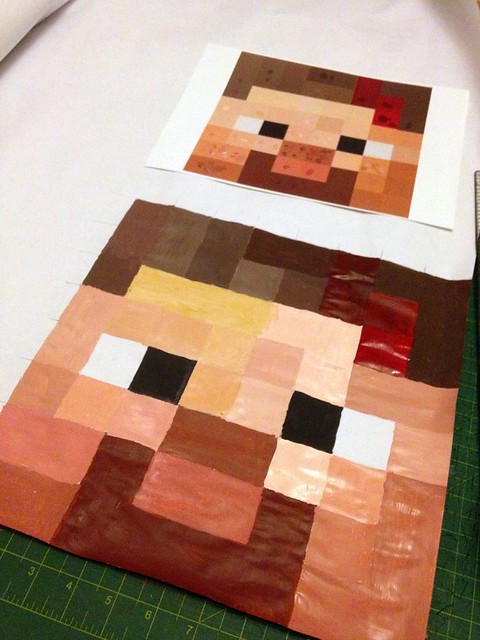
Once I'd exhausted the straight matches, I started mixing colours together on a palette to form the rest. If you're attempting your own Minecraft Steve and following my advice to add margins along the edges, extend the paint on the border cells that extra half inch.
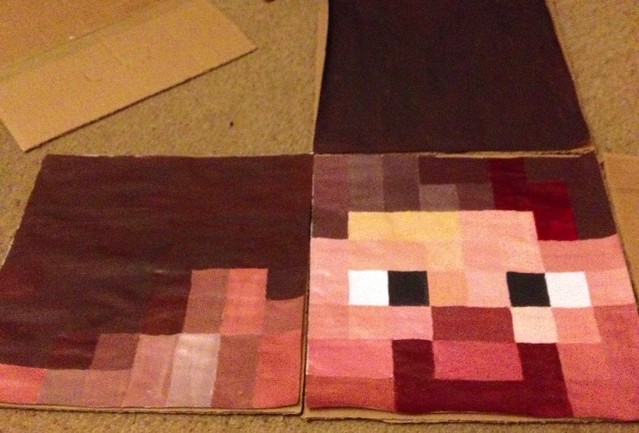
Keep on mixing paints and in four short hours, you'll have something like this (but with borders, because you're cleverer than me). After the front was down it's time to do the remaining four sides, which thankfully are a lot less work. I'd tracked down a different file for the remaining panels, printed that out on a much smaller scale and set to work on painting the rest.
After all the panels are complete, leave the paint to dry (or stay up all night depending on your time-scale). Once dry, cut five 12"x12" pieces of board and them together at the edges like so:
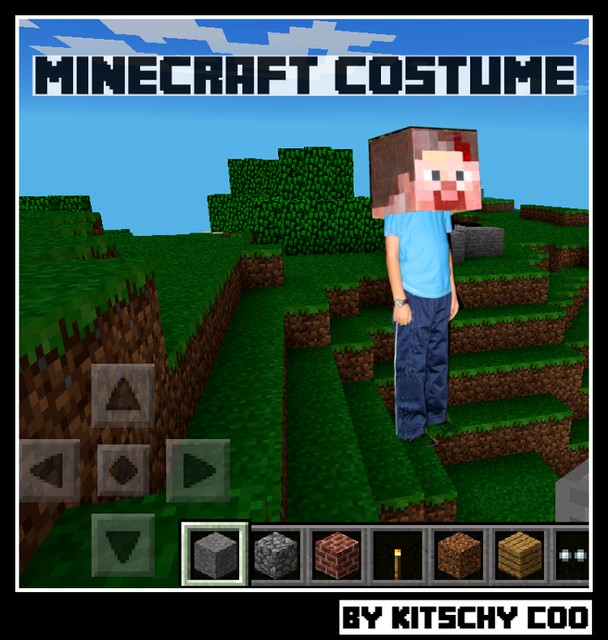
Then fold the panels in to form a cube. Use your adhesive of choice to attach the painted panels to the corresponding sides of the cube (told you those borders would come in handy). And you're done! Find an addict and make him stand in the garden at dawn for reasons-confusing-to-the-neighbours.
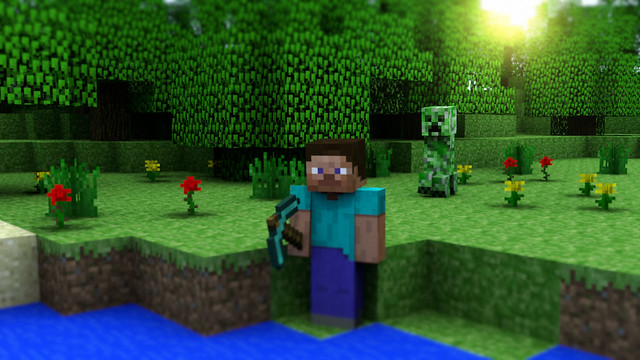
Make it up to him by superimposing his Minecraft avatar into a screenshot of one of his very own servers. Before you ask, nope, I haven't dealt with the eye holes yet. This box is going to go on top of a body box closer to Halloween so I need to wait to see at what level his eyes are sitting at.
Thanks for having me, Andrea, and make sure you check out the rest of the series!




Haha, this looks pretty fabulous.
ReplyDeleteThis is exactly what my seven-year-old has requested this year. Thanks for figuring it out! I just showed him and he's even more excited. Me? Well, I'm just happy he's happy, I guess.
ReplyDeleteSo awesome! I lurv me some pixel action!!!
ReplyDeleteYou're so cool. I can't wait to see the family photo with all of you in your minecraft costumes.
ReplyDeleteAll three of my boys are now officially banned from being anywhere near my laptop in case they stumble on this page and expect me to do similar. I'm just not that nice (I don't even let them talk to me about Minecraft; that's what brothers are for isn't it?!).
ReplyDeleteNever heard of minecraft but i have toddlers and just finished their Costumes today!
ReplyDeleteJaimes' looks awesome!! Now i want to make one and dont know what it is haha very good job!!
i was thinking about changing the design so it is a zombie pig-man, not the player.
ReplyDeletein fact, it could be used for anything minecraft!
ReplyDelete