

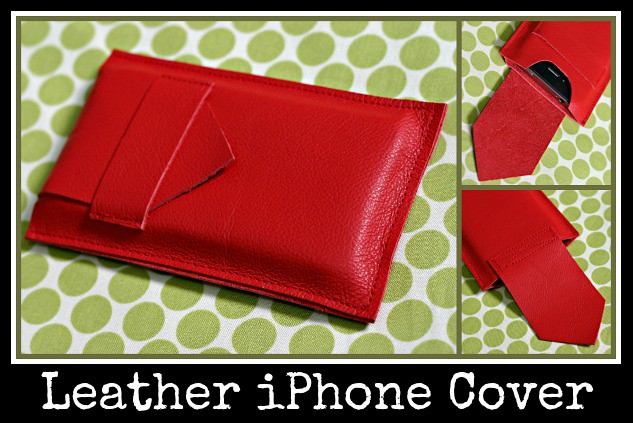
Believe it or not, there are occassions when you don't want to dress your iPhone up like a cassette tape or lego-ise it. If it's kicking about in a handbag as dangerous as mine, it's good to protect the screen from knocks and detritus. So how about sewing it a leather cover with a flap? It's a super quick project (I estimate well under an hour) and you can knock them out for all your pals for Christmas. You'll need leather or pleather, some chalk for marking, and a heavy duty / leather needle. You can't pin leather because it leaves a hole, but if you want to you can paper-clip or quilt-clip it to stop shifting, or just hold it with your fingers. When I sew leather, I set my stitch length a bit longer (3 for me) and go s-l-o-w-l-y to make sure you don't skip stitches. Front and back stitch a couple of times at the beginning and end. I use my normal foot, but you can use a teflon or walking foot, or even put some scotch tape underneath the foot to make it slide better. I personally don't find it necessary!
Okay, let's start off by downloading your file. Print it out without scaling and check your measurements. This cover is for a 4s, if you have a different model you might have to adjust the dimensions. It's a good idea to cut the front and back pieces out of paper or card, put your phone in the middle, and pinch round the edges to make sure it fits before you cut your leather. Does it fit?
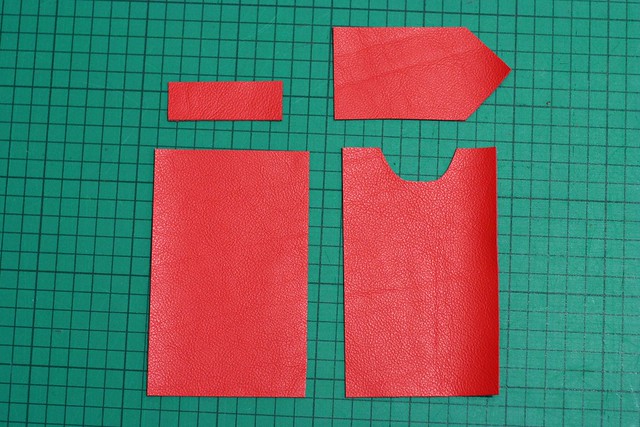
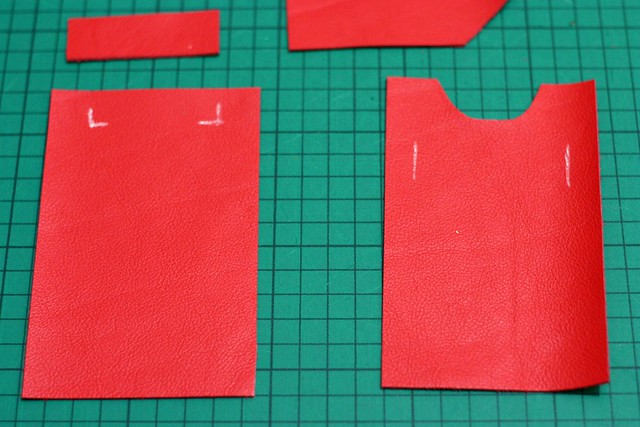
Okay, let's cut the leather! Front with bit cut out of the top, a back, a flap and a strap.
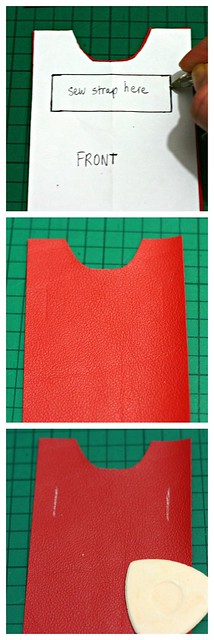
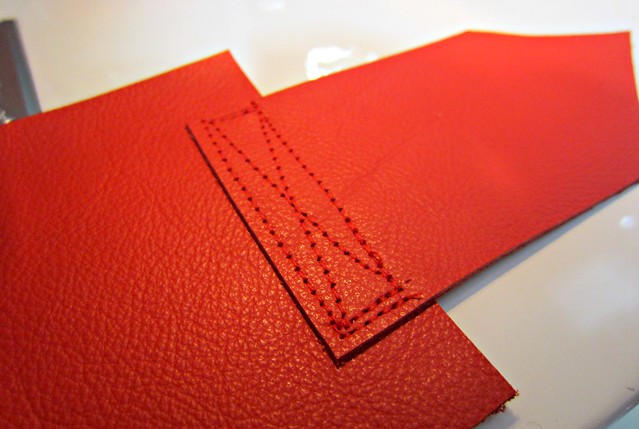
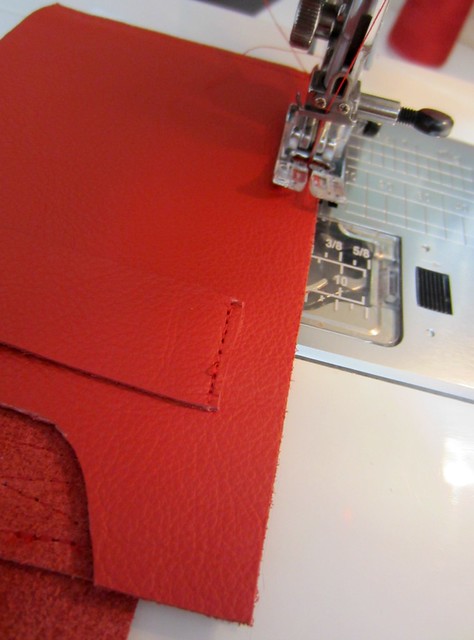
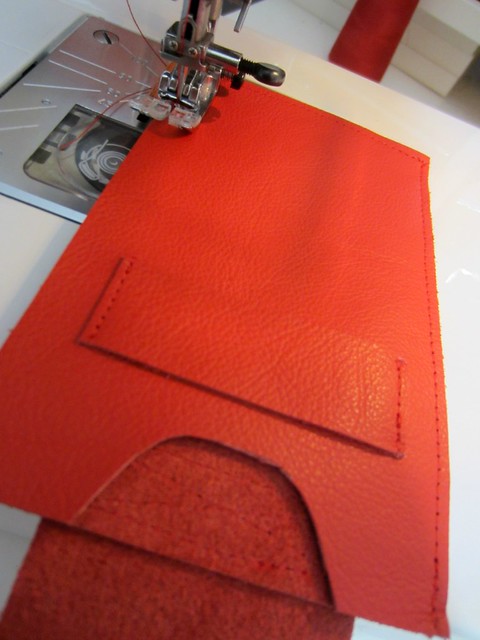
When you get to the end, pivot and sew down toward the corner, pivot and sew to the opposite edge, pivot and sew back to where you started. Then you can sew a boxed X through the middle of the rectangle if you like, I personally think it looks better and I am world-renowned for my good taste.
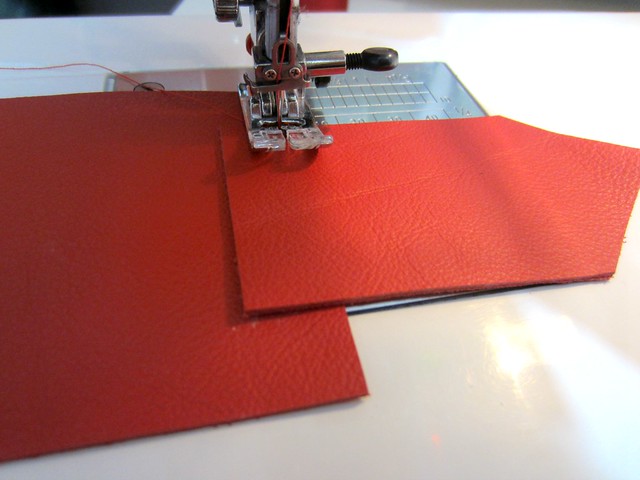
Put the back to the side and get the front and strap out. Strap matches the marking and sew it on close to the edge.
Repeat on the other side.
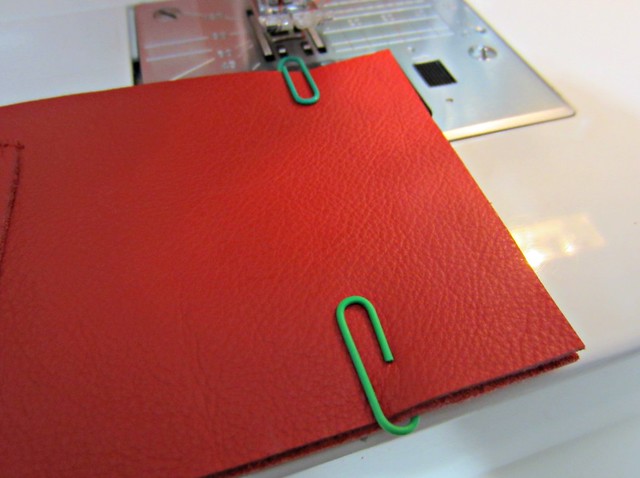
Place the front and back together wrong sides facing at carefully match up the bottom edge. Out come my paper clips.
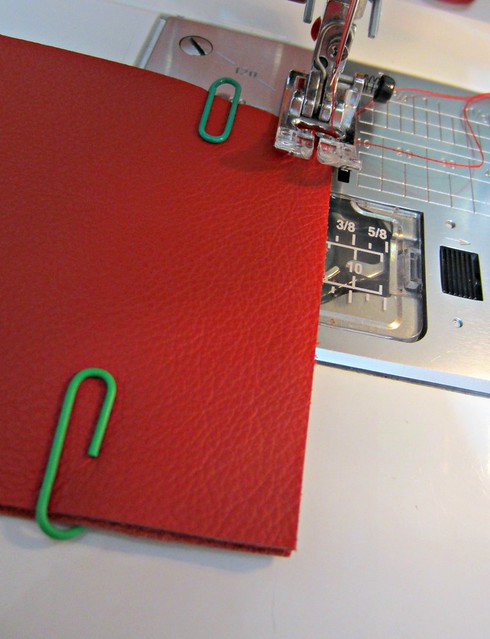
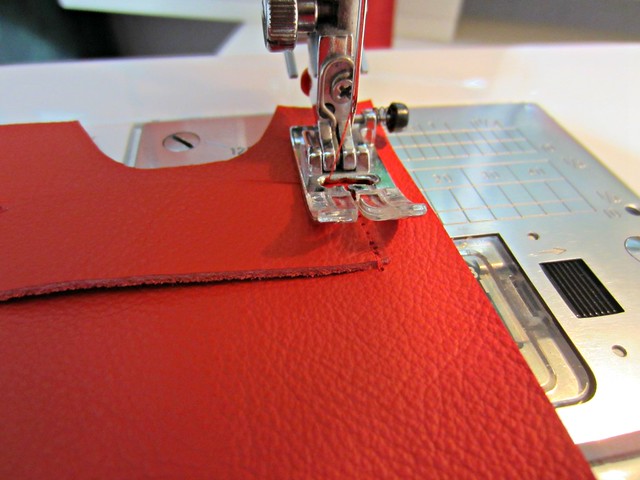
Carefully sew along hte bottom close to the edge, catching both layers. I match the inside edge of the oval window of my foot with the edge of the leather, it's scant.
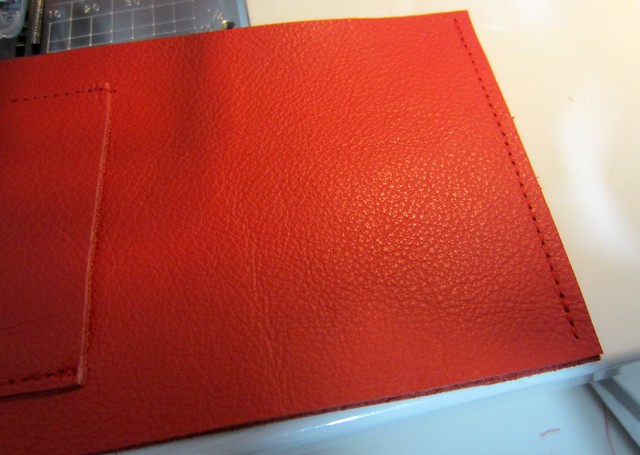
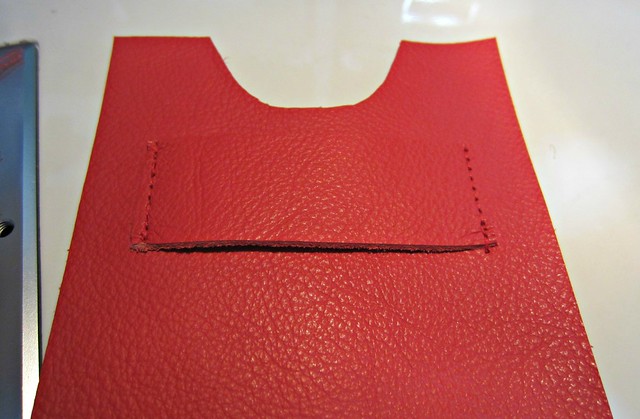
This is what the bottom edge looks like sewn.
At this point I remove the paper-clips as I find they can distort the pieces; if you matched the bottom well the side's should be matching up too. Slowly sew up the right side close to edge, right to the top.
Now, resist the urge real hard to sew the left side from the top to the bottom. You really want to sew it from the bottom to the top as you did the right side, as if you sew one side top to bottom and the other side bottom to top you're risking slippage and distortion. It can make the rectangle a bit more like a rhombus (ask me how I know). So from the bottom to the top, sew the left side close to the edge.
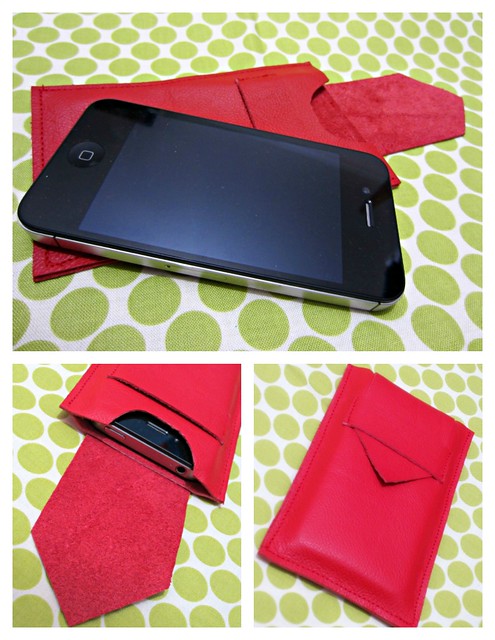
Carefully prise your iPhone out of the mitts of your child, insist that it's yours, slip it into the cover and secure the flap. Now take it to Norway*.
*Do you like how I casually slipped that in? Steven and I are off to Norway tomorrow. Without children!
Oooh I am definitely interested in trying this out, but where do you get leather from?
ReplyDeleteI got the leather for this one off ebay in the leathercraft section, a mixed bundle of 7" squares in different colours :)
DeleteEnjoy Norway, it's beautiful. But eye wateringly expensive. Take plenty of money.
ReplyDeleteI saw this post yesterday and thought "Huh, how cool! But leather is a bit hard to find. I'll skip it." Two hours later I was at the fabric store to "stock up" - as you do - and I ran across a roll of white leather priced at $10!
ReplyDeleteIt was kismet. (Did I use that word right?)
Anyway - do you use a special leather sewing needle for your machine and thicker thread?
So doing this for Christmas. Just need to size up slightly so I can fit the phone with my TARDIS case on.
I would normally use a leather needle, however, I couldn't find one so a size 14 worked just fine! The thread doesn't need to be special (although some people use topstitching thread or something else that's heavier) but it *does* need to be good quality and not likely to break.
DeleteLOVE this! Have some remnant leather that's just waiting for a project, and a very unprotected phone banging around in my bag. Must be destiny! :)
ReplyDeleteWhat a clever idea! I got a big bag of leather scraps from an upholstery place that fixed our leather couch. Now I have something to do with some of it.
ReplyDeleteWhat an idea to use one of my lather purse that just got teared off!
ReplyDeleteOops! I mean leather!
Delete