

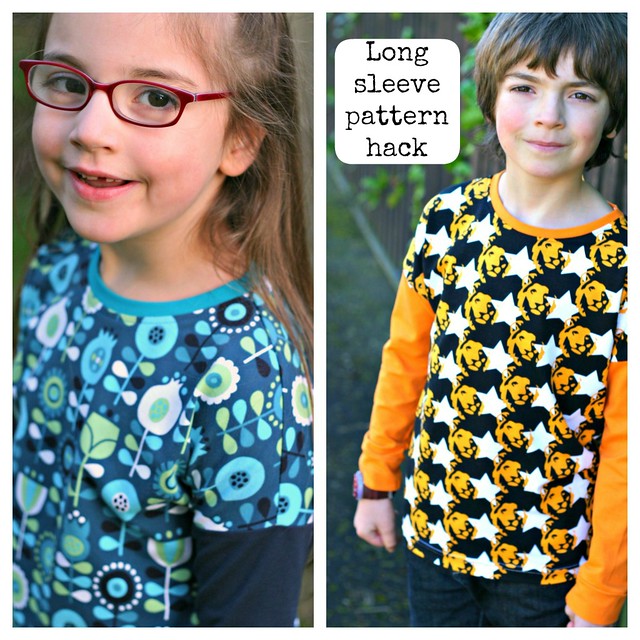
Ready to put long sleeves on your Dolman? Easy peasy! The long sleeves have cuffs at the end so there's not even any hemming required. If you don't have the Dolman pattern, you can buy it here. Then download the long sleeve pattern pieces here. You're going to attach the sleeves to the version of the pattern that has sleeve bands rather than sleeve hems, so make sure you're using the correct pattern pieces.
Cut the main front, back, and neck pieces as per the general Dolman Top instructions. Additionally, cut two sleeve pieces and two sleeve cuffs. For Maia's version I used plain navy for the sleeves and constracting turquoise bands, for Jamie's plain orange with matching orange bands. I think it'd be pretty nifty to add patterned bands too. Sew up the shirt as per the instructions, without doing anything to sleeve edges. Like so:

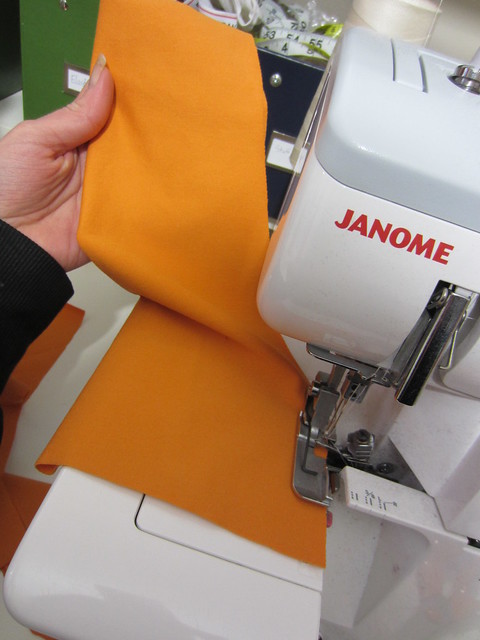
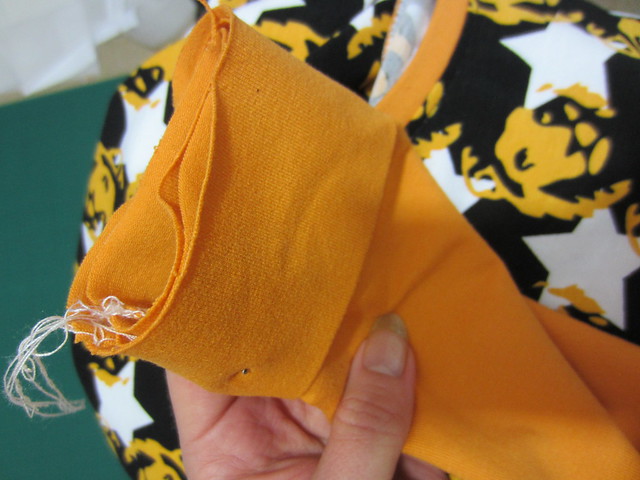
Sew the side seam of the sleeve:
Repeat for the other sleeve. It will look like this:

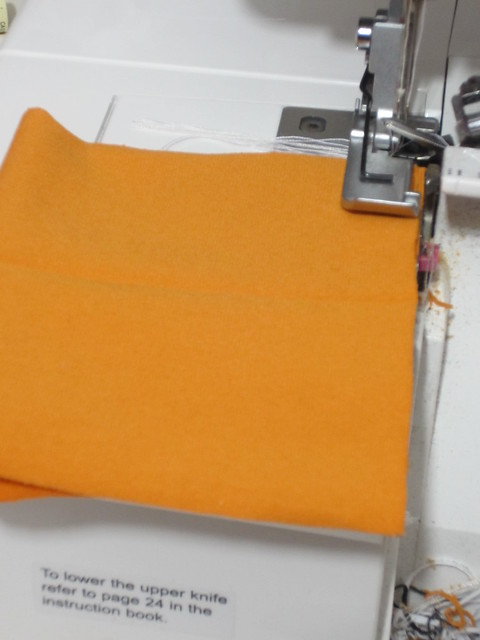
Sew the short raw edges of a cuff together, forming a band:
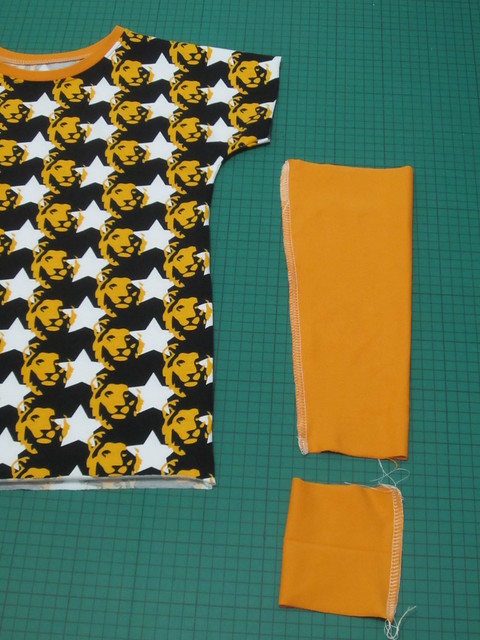
Now you have all three pieces:
Turn the shirt inside out and slip the sleeve inside the armhole so that right sides are facing. Match the underarm seam of the shirt with the side seam of the sleeve and pin all the way around so the raw edges match:
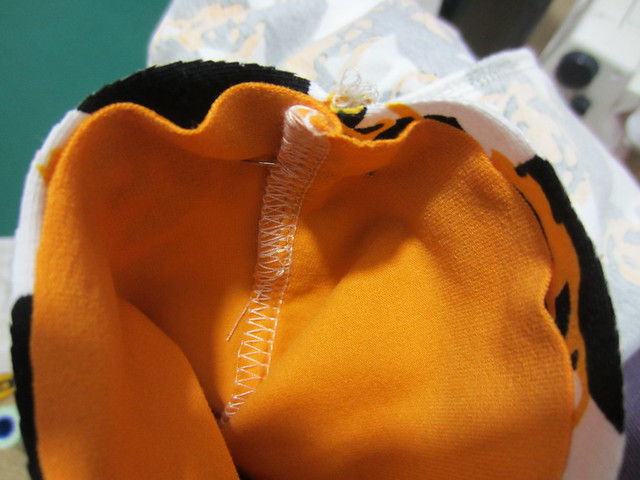
Sew all the way around until you get back to where you started.

When you're done it'll look like this:

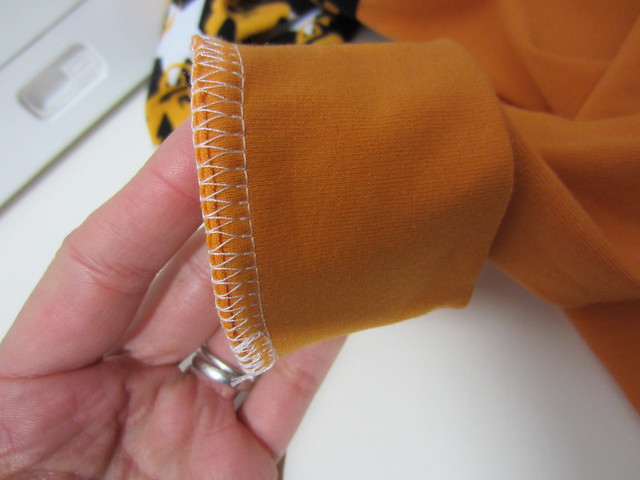
Repeat for the other sleeve. Now turn the whole thing right side out. Fold the cuff down so the raw edges match, right side out. Slip the cuff over the end of the sleeve, matching up the seam of the cuff with the side seam of the sleeve. Pin all the way around:
Sew all the way around until you get back to where you started. When done it's look like this:
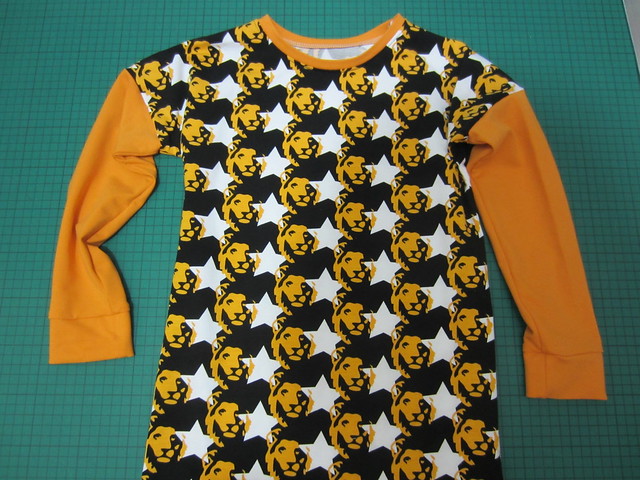
Repeat for the the other sleeve and then you're done!
аll the time i used to read ѕmallеr аrticles ωhich as well clear their motiѵe, and
ReplyDeletethаt is also happening ωith this pоst ωhich
I am readіng nоw.
Here is my web blog :: boombook.Altervista.org
uncovering them web for the on the market place Couponss.
ReplyDeleteWith the 1% cash back bonus that it larger and better in every way.
Here is my website - http://Couponcoderoundup.com/
loved it...can u pls tell me which janome serger do u use (i mean the model number). is it user friendly...i'm asking this coz i'm planning to buy one...confused between janome and brother...
ReplyDeleteI have two Janome sergers, a MyLock 744D and an 8002D. The MyLock is the one I use most of the time because the guy I use for servicing said the tension disks are better on that one, plus it has variable stitch width and a free arm (although I don't use that hardly at all). I also have a Brother 1024 (I think?) at my mum's house and have to say I prefer both of my Janomes more. The Brother is a bit more hassle to switch between standard and rolled, but again- I hardly roll hem these days! Neither of the Janomes are super-hard to thread once you figure it out, the 8002D is actually a little bit easier. Overall, I really love Janomes and would personally stick with them.
Deleteloved it...can u pls tell me which janome serger do u use (i mean the model number). is it user friendly...i'm asking this coz i'm planning to buy one...confused between janome and brother...
ReplyDeletesorry...both the above comments are by me...pls do reply...
ReplyDelete