


I'm bringing Scattered Thoughts of a Crafty Mom's Holiday Sewing Series to a close today with a super speedy tutorial:
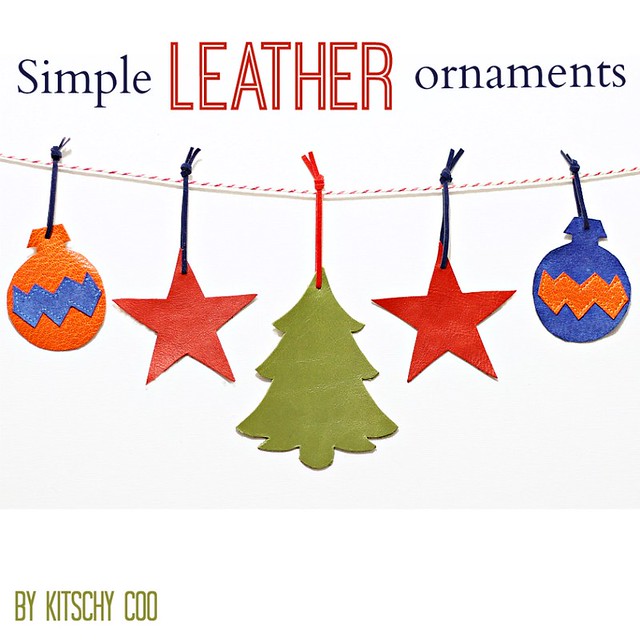
I know, right? So easy I actually feel pretty guilty about posting it but but BUT I did some googling when I had the idea and surprisingly there wasn't anything too similar. The tree and stars are complete no-sew, but the baubles require a tiny bit of sewing (although you could omit the detail and just use the outline). You can download the templates for the three shapes here, but there are a tonne of Christmas clip art templates if you want to add more shapes... Reindeer? Stockings? Snowflakes? Candy canes? Leather ornament all the things!
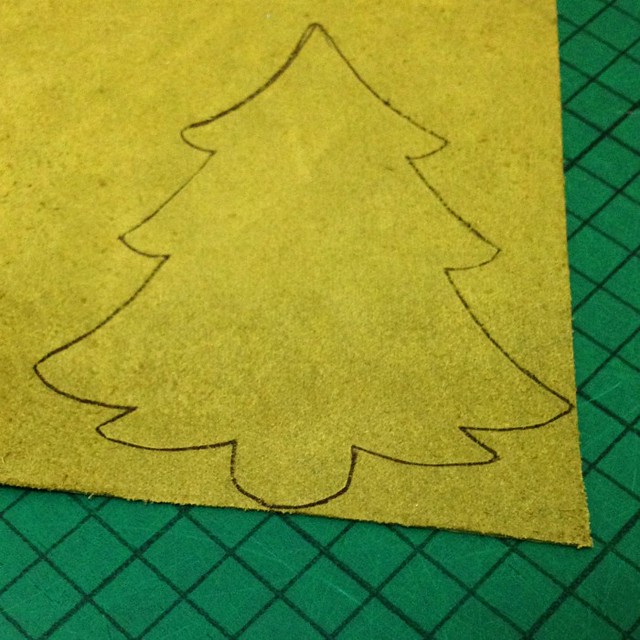
Cut out your shapes and trace them on your leather. Using sharp scissors, carefully cut around the outlines. If you're going to sew the zigzag detail on the baubles, cut the zigzag from a second colour. Use a glue stick to position the zigzag on the bauble.
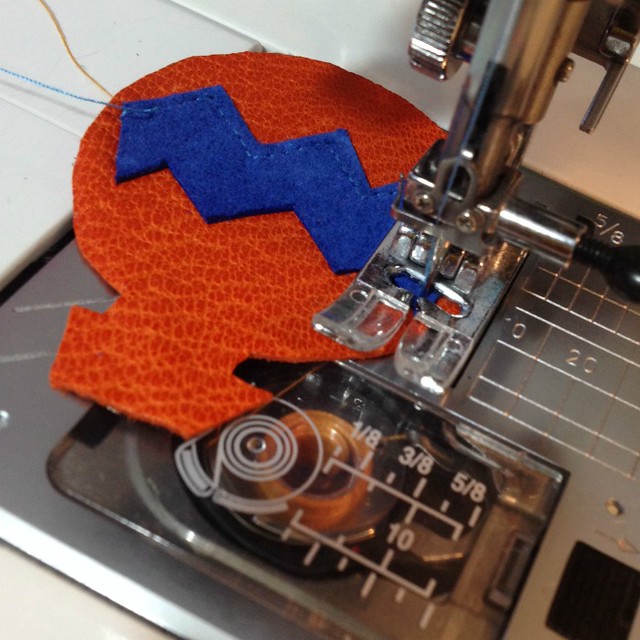
After the glue is dry, put a heavy duty needle in your machine (specific leather needles are best but general heavy duty needles are fine too). To stop the leather from waving / distorting, I use a slightly longer stitch length of 2.8. Start sewing close to the edge, stopping at the corners and with the needle in the down position, and pivoting to continue sewing around all the edges until you get back to where you started.
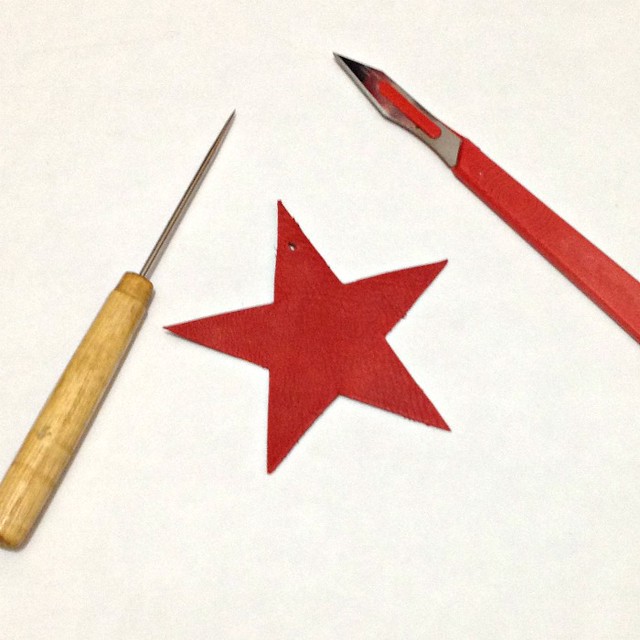
Use an awl or craft knife to make a hole at the top for hanging. If you have the hardware, grommets would be pretty nifty too.
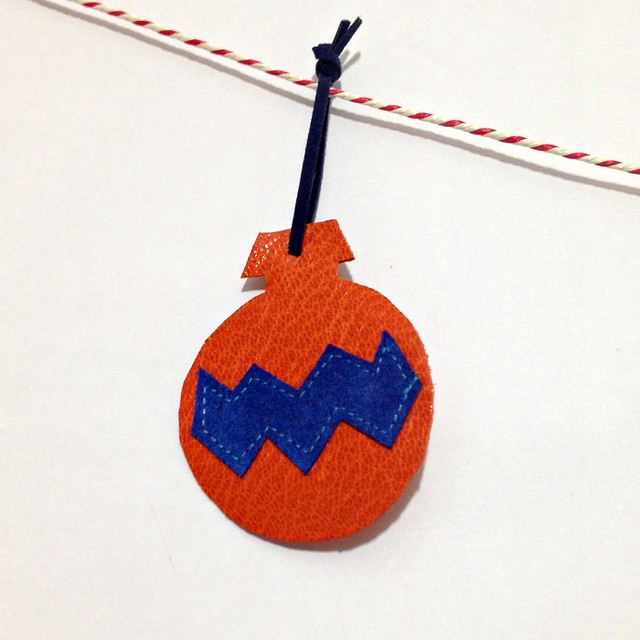
I used leather cording with a simple knot at the top for hanging.

And that's it! They took me fourteen times longer to photograph than make and our tree looks (marginally) more classy so that's a result by all accounts.

Make sure that you check out the series for lots of Christmas sewing ideas, including yesterday's tutorial from Jamie herself with reversible holiday placemats. There will be a linky party on Scattered Thoughts of a Crafty Mom tomorrow for everyone to link up their recent holiday sewing, and there's a even a giveaway for a Brother 1034d serger closing tomorrow!
So going to make some myself. Actually I had the idea before I read your post and this makes me want to make some even more. They probably also make cute additions for attaching to wrapped gifts.
ReplyDeleteSusanne (I just bought the two Pennys and already printed them :-))
I am all about simple these days! I've linked to your tutorial on Craft Gossip: http://sewing.craftgossip.com/tutorial-simple-leather-ornaments/2013/12/20/
ReplyDelete--Anne
Lovely!!!
ReplyDeleteNever hesitate to post simple! Simple is awesome! And so is this ;)
ReplyDeleteI've been making these in leather for a few years now, they are especially cute in metallic leathers (gold, silver) or patent leather (red). I also found that using very sharp scissors and using a plastic glow in the dark star as a template worked best. Merry Christmas
ReplyDeleteThese are so cute!
ReplyDeleteAmanda, I just have to tell you thank you so very much for your generosity to my family:). You are great. Thank you so very much!!!