Wednesday, 25 September 2013

8

Handmade Costume Series: Minecraft Jamie

Inevitably, it's that time of the year where we're starting to think about our Halloween costumes.  Technically speaking I would've commenced the actual costume-labour the day before Halloween much closer to the end of October but I'm up on The Train To Crazy's Handmade Costume Series today!

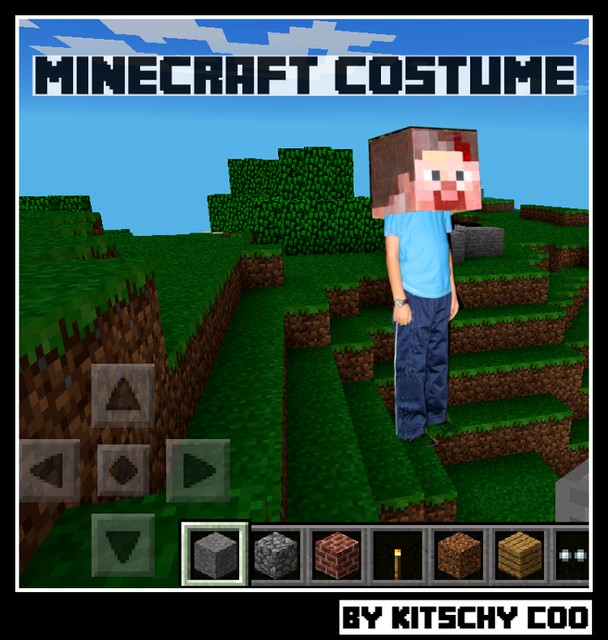
Minecraft Cover Photo 750

Despite applying extreme pressure on the kids to chose a Doctor Who theme for which I could sew (I will never forgive Maia for turning down the Sister of Plenitude Cat Nurse), they had their hearts set on Minecraft Costumes.  If you don't have children or know children, you might be unfamiliar with Minecraft and I am currently jealous of you.  Jamie is obsessed, all of his friends are obsessed, Maia is working on it.
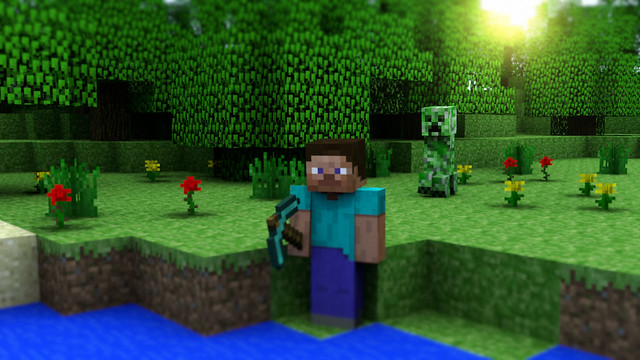
minecraft background

I couldn't find any conceivable way that I'd be able to utilise an actual skill of mine like sewing, so I was forced to deploy other crafting techniques (I hesitate to call them skills) of painting and 3-D construction.  The good news is that Minecraft is a 16 bit game designed to look heavily pixelated with all straight edges so it was fairly straightforward to replicate.


What you need  (a lot of these are do as I say, not as I do):
  • White heavy paper (I used normal printer-weight and would definitely recommend something heavier so it doesn't wrinkle from the paint) 
  • Cardboard to make the box (I salvaged corrugated cardboard as that's what I had to hand but I would definitely recommend choosing something with a smoother surface)
  • Paint (I used brown, black, white, red, peach, and yellow acrylics)
  • Ruler and pencil
  • Adhesive to fix your paper to your cardboard
  • Tape to form your box

minecraft 1

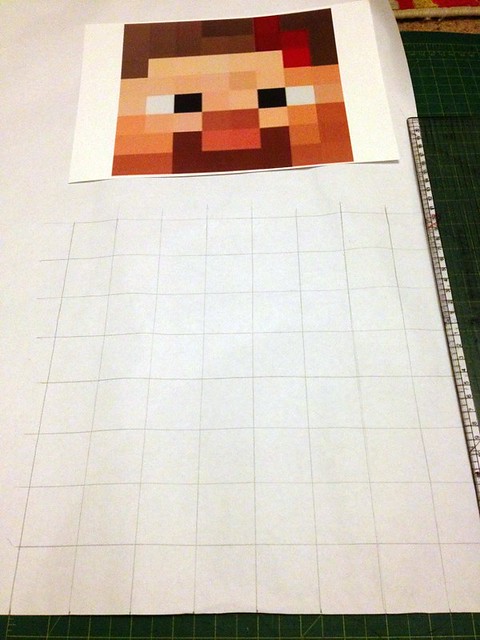
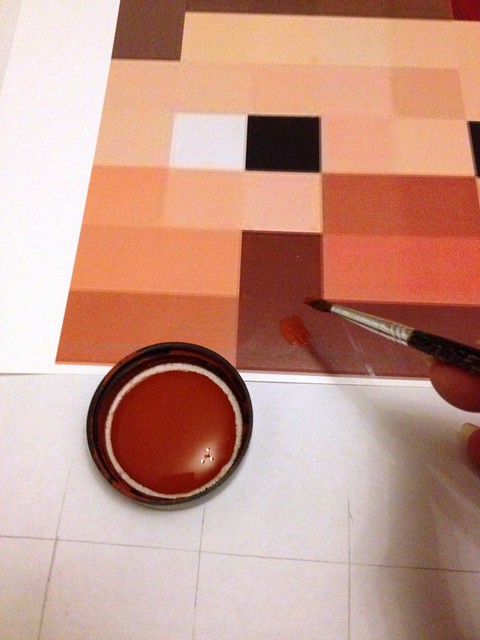
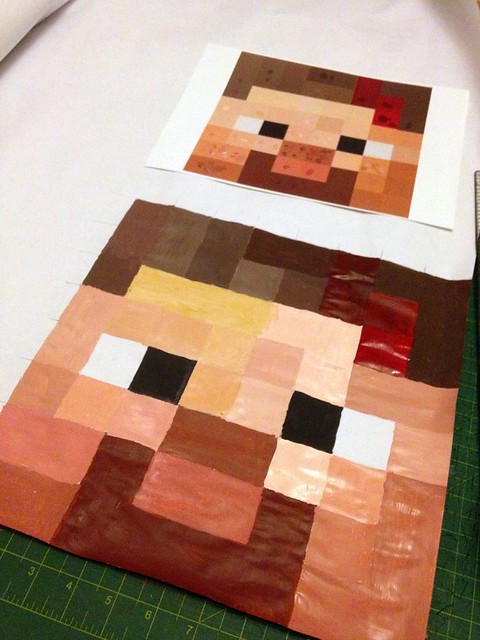
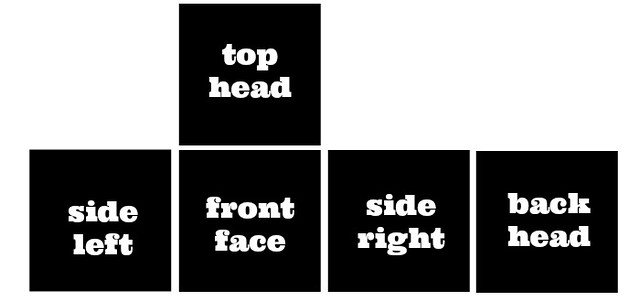
I wanted to concentrate most of my efforts on the front view so I Google image-searched and used this larger file for the basis of just the face.  I blew it up and printed it on glossy paper so I'd have a big visual reference and also somewhere to get the shades correct before committing it to paper.  Counting the pixels the face is 8x8 so I decided to use a 1.5" grid to yield a 12"x12" box.  Using a ruler I made the grid on my paper five times (front face, side left, side right, back head, and top head).  What I didn't do (but wish I had) was to add a margin of half an inch around all edges of the grid so it would be easier to wrap continuously around the box.
Minecraft 2

I started with a colour I already had and tested it right on the photo to make sure there was a colour-match  before committing it to the grid.
Minecraft 3

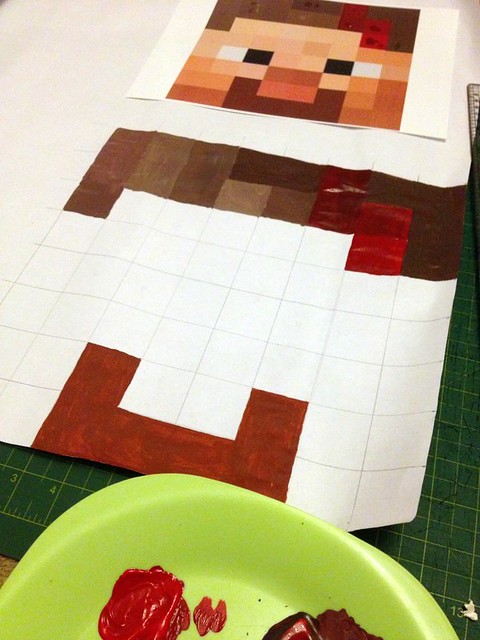
Once I'd exhausted the straight matches, I started mixing colours together on a palette to form the rest.  If you're attempting your own Minecraft Steve and following my advice to add margins along the edges, extend the paint on the border cells that extra half inch.
Minecraft 4

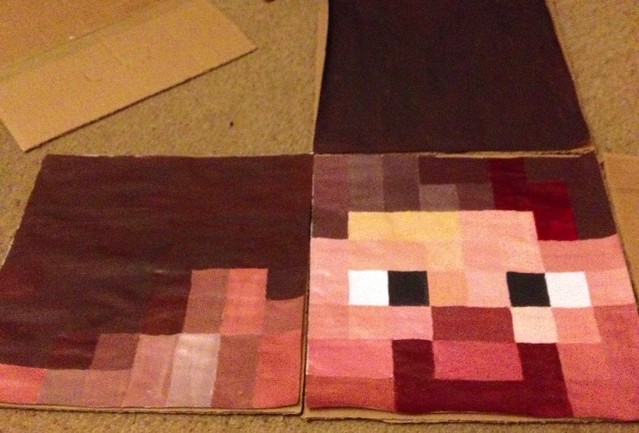
Keep on mixing paints and in four short hours, you'll have something like this (but with borders, because you're cleverer than me).  After the front was down it's time to do the remaining four sides, which thankfully are a lot less work.  I'd tracked down a different file for the remaining panels, printed that out on a much smaller scale and set to work on painting the rest.
minecraft 5

After all the panels are complete, leave the paint to dry (or stay up all night depending on your time-scale).  Once dry, cut five 12"x12" pieces of board and them together at the edges like so:
minecraft 6

Then fold the panels in to form a cube.  Use your adhesive of choice to attach the painted panels to the corresponding sides of the cube (told you those borders would come in handy).  And you're done!  Find an addict and make him stand in the garden at dawn for reasons-confusing-to-the-neighbours.

Minecraft Collage 2

Make it up to him by superimposing his Minecraft avatar into a screenshot of one of his very own servers.  Before you ask, nope, I haven't dealt with the eye holes yet.  This box is going to go on top of a body box closer to Halloween so I need to wait to see at what level his eyes are sitting at.


Thanks for having me, Andrea, and make sure you check out the rest of the series!

Tuesday, 24 September 2013

15

The Panelled Pinafore

tunic princess seam detail

Despite a gazillion other things to do, I started working on another couple of patterns yesterday. Have you seen this infographic of the 12 Types of Procrastinators?  At any given time, I am at least seven of those.

tunic full 2

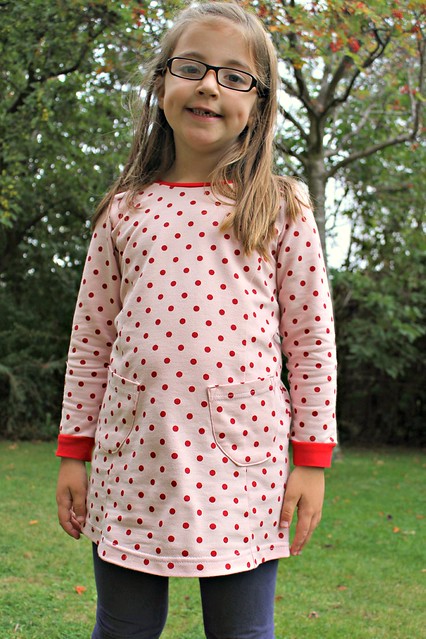
From a distance (and in this polka-dot fabric where it's hard to tell) there doesn't look like there's very much going on...

tunic seam lines

But zoom in and there's some visual interest!  There are armhole princess seams to the front.

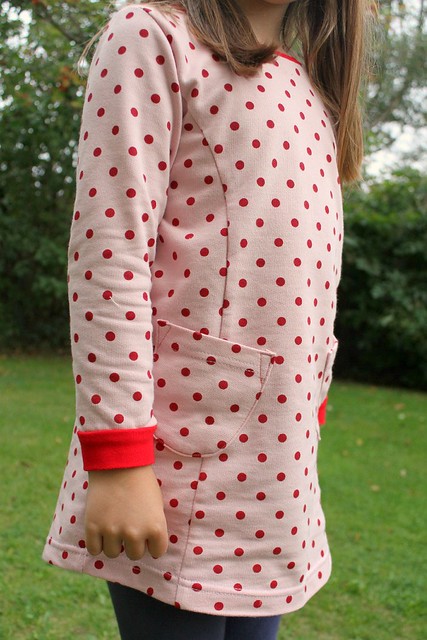
tunic side

And the same to the back.  All those panels would be great for colour-blocking and print mixing.

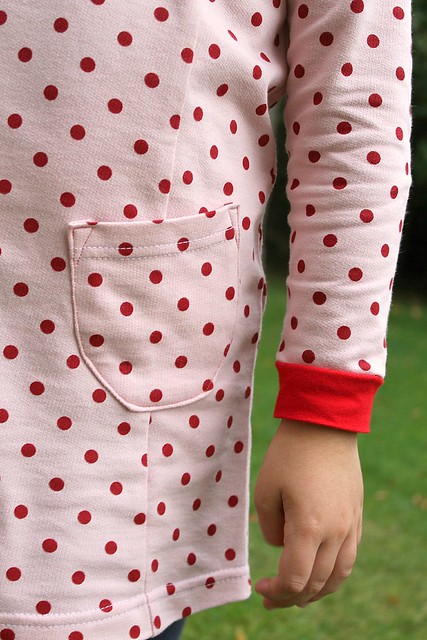
tunic pocket detail

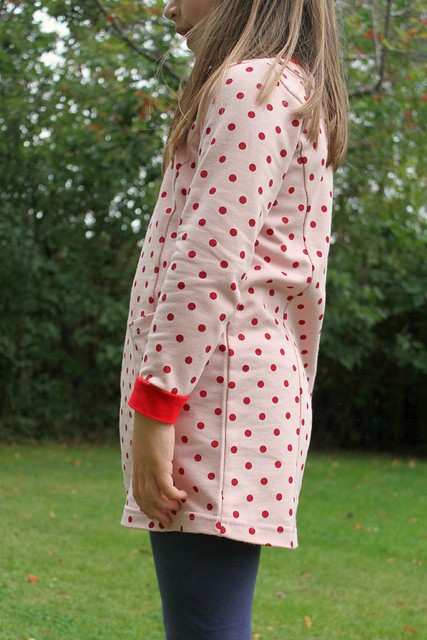
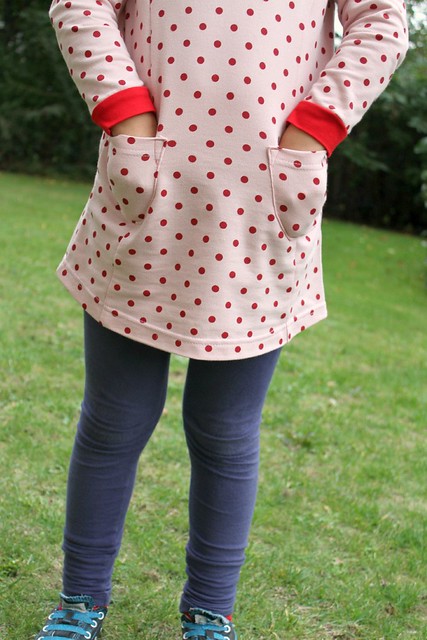
There are angled patch pockets at hip height.  This is the tunic length but there will also be a dress length.  It's a sleeker, more mod-ish silhouette, but particularly good for autumn and winter in heavier knits.  This polka-dot fabric that I've had in my stash forever is a medium weight french terry with very little stretch.

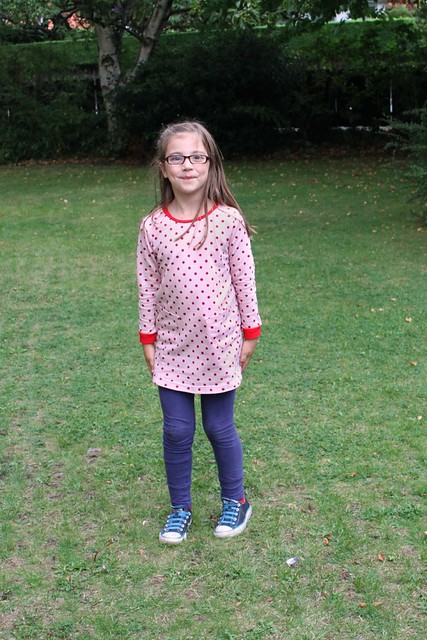
Tunic full

Maia likes it very much.

Saturday, 21 September 2013

1

This Just In: Preppy Puppies, Green Scooters, and lovely ribbing

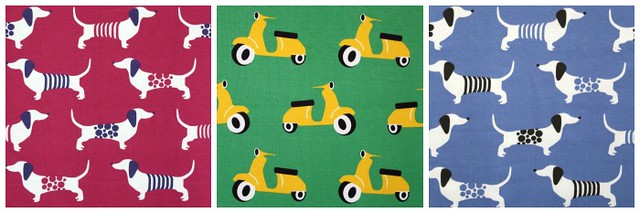
Nosh prints collage

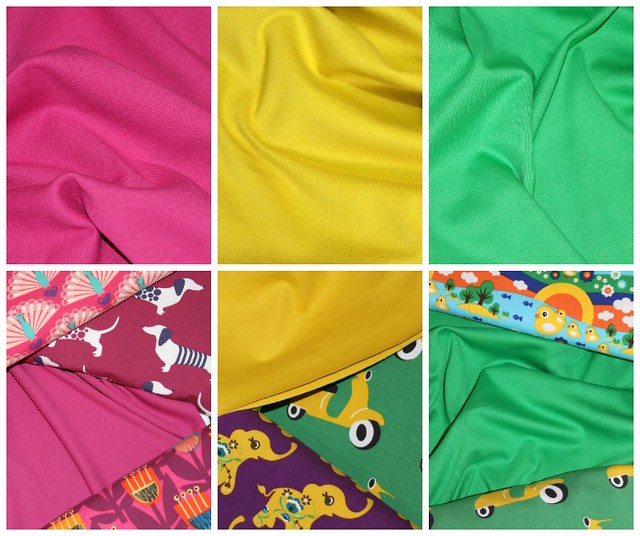
An exciting order came a couple of days ago from Nosh Organics in Finland with two colourways of the spotty / striped sausage dog print Preppy Puppy, and new colourway of the ever-popular Scooters (which sold out in blue the day before!). All three are gorgeous organic cotton blends of 95% cotton and 5% elastane, very soft and stable with great stretch and recovery. I cannot wait to get them sewn up.
 
Nosh ribbing collage

I'm also really excited about three new colours of ribbing. The red, black, petrol, and cappuccino ribbings from Lillestoff are 2x2 ribs, but these are 1x1s so they look and behave more like a thick jersey. They are a blend of 97% organic cotton / 3% elastane composition and when I did a stretch test a 4" strip yielded a 6" stretch and a bounce back to 4.25" so I think it's work even for 'load-bearing' trims like waistbands. Exciting!  Because colours are nuanced I've included some pics with existing prints so you can better see their tones.  They're all now available in the shop.

Wednesday, 18 September 2013

3

This Just In: Trousers, trousers, everywhere

Kitschy Coo Trouser Collage

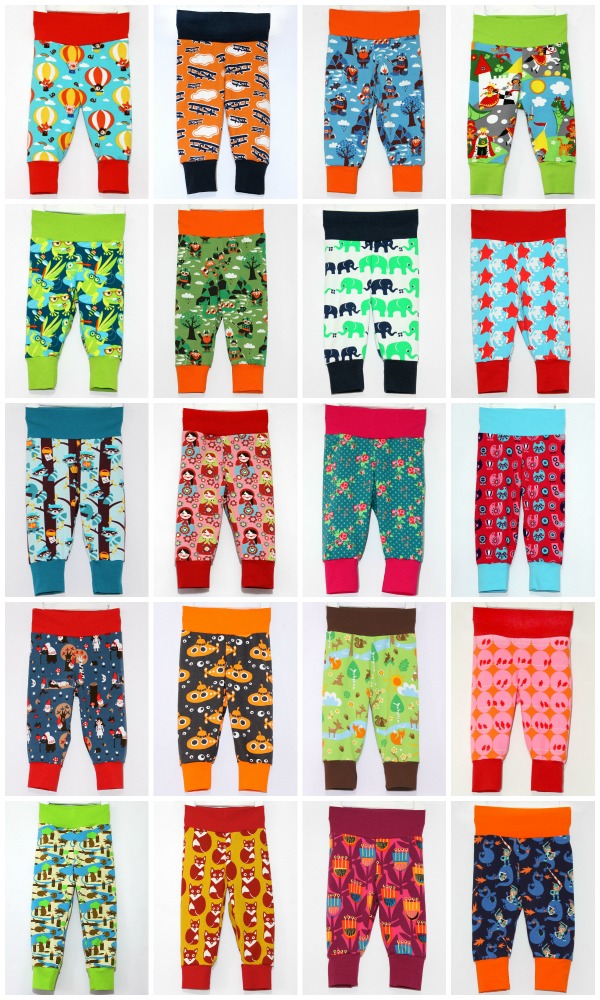
I've certainly been a busy bee this last week!  It's been a long while since I've had clothes listed in the shop (although I've continued to supply stockists and fulfilled orders through email) but keeping on top the fabric shop and developing patterns means it's tricky to keep a clothing line going in tandem.  All of the trousers pictured above are currently available and I hope to add dresses, skirts and tops over the next couple of weeks.  Like fabric by the metre, availability can change rapidly.

Juicytots Collage

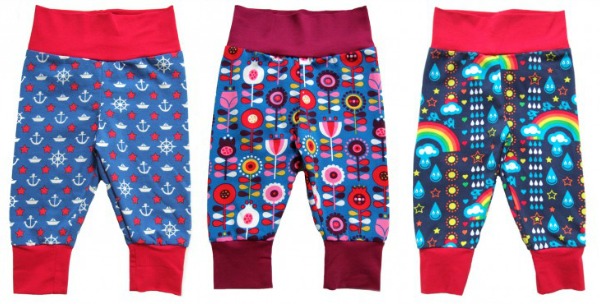
Speaking of rapidly unavailable things, I've also restocked Juicytots with all of their previously-existing range in all the sizes I could (heads up- the nearly extinct Rainbowphant is back!) and added two new designs in Tattoos and Scandiflower Blue.

Monkey and Bo Collage

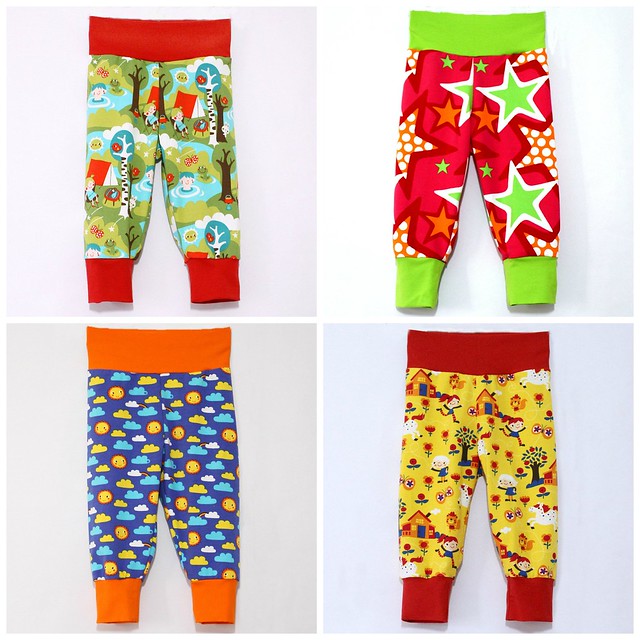
Monkey and Bo have also received new stock with four new designs: Camping, Cerise Stars, Sunny Sky, and Happy Girls.


Monday, 9 September 2013

13

Amanda on Ananda

Ananda pants front 2

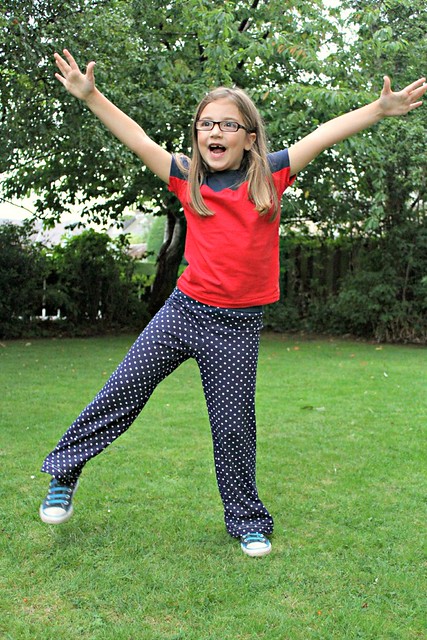
A couple of weeks ago I was lucky enough to test Jenny from The Southern Institute's first pattern, the Ananda Pants.  Do you know how tricky it is to type Ananda when your name is Amanda?  Heaps.

Ananda pants front

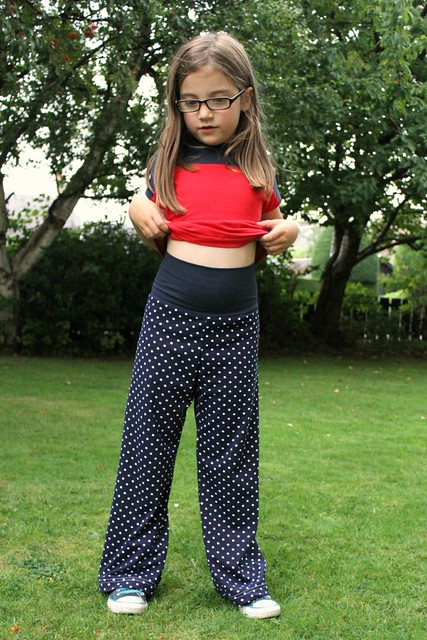
The trousers are wide leg yoga style, with a knit waistband in lieu of elastic.  Maia is pretty fussy about waistband comfort so these are a winner in our book.  Obviously the waist doesn't need to be pulled up quite so high, you can fold it down should you be overcome with the desire to do so.

Ananda pants back

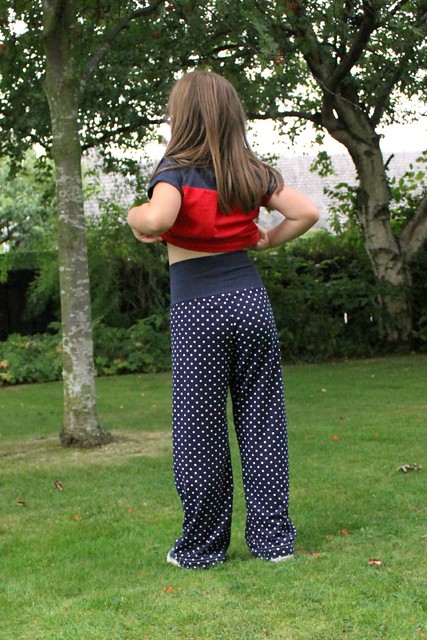
Best thing about yoga waistbands? The bum coverage! Bum coverage for Maia is our mythical unicorn.  If I can track down grey and black ponte I'll be making her a bunch of school trousers with the Ananda pants as part of my Make Great Patterns Boring Initiative.

Maia face

You can get the pattern from the newly-launched Chopstix Patterns here!


Friday, 6 September 2013

8

Lady Skater Pattern Hack: Go Sleeveless

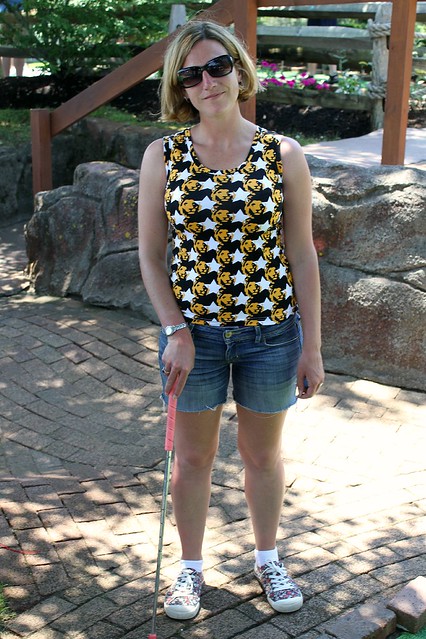
Lady Skater Tank

I know, what better way to celebrate autumn than to post the long-overdue Lady Skater Sleeveless hack!    Southern hemis, this one's for you.  Northern hemis, bookmark or pin for later.  All hemis, ignore the fact that my photos aren't technically even a Lady Skater Dress.  I'm demonstrating how easy it is to extend the bodice to make t-shirts.

LS Sleeveless Collage

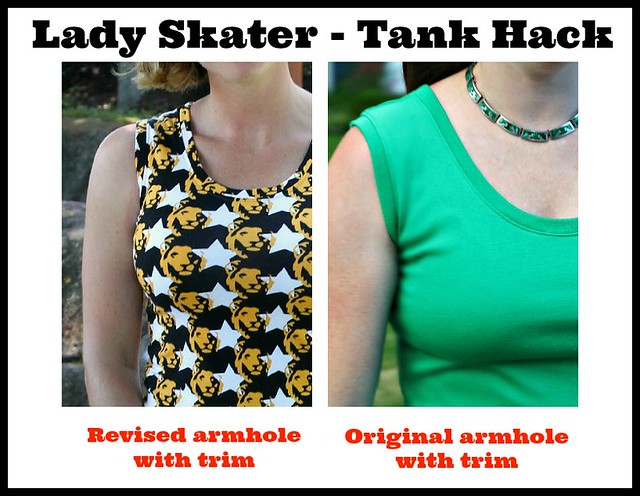
So you want to make your Lady Skater sleeveless? You might remember that Cindy from Siestas and Sewing made a sleeveless skater for the tour as illustrated by the picture on the right.  If you do nothing to the bodice armhole except add trim as she did, the tank becomes a mini cap sleeve that is in no way displeasing, but if you prefer a more traditional tank-like appearance you have to change your armhole:

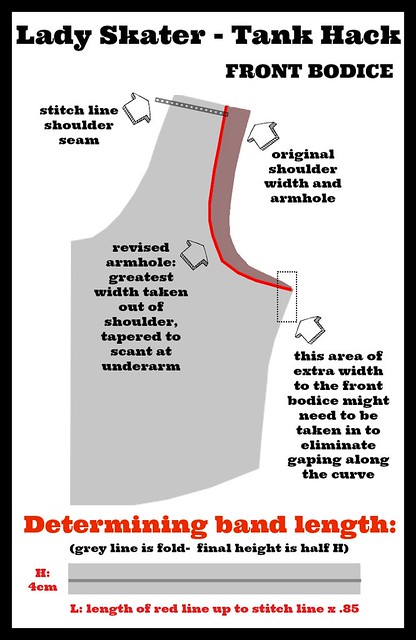
front skater bodice to tank

The main difference is to reduce the shoulder width.  The sleeved Lady Skaters are designed for the sleeve seam to hit right on the shoulder cap so removing the sleeve and adding trim means that the shoulder seam will extend over the shoulder cap.  If you want a skinnier shoulder, remove the greatest width at the top.  The red line shows the revised armhole- it's closer to vertical at the top, scooped out along the armhole curve, and tapered to nothing at the armpit.  The reason why I taper to nothing at the armpit is that I am very particular about my bra  band showing.  My short torso / big bust combo means that my bra bands hit very high up and it's my personal preference for a very close fitting sleeveless armhole.  If you prefer a looser armhole, feel free to scoop it out there too!  The purpose of scooping out along the curve is to compensate for the width of the band, but also to remove the pooling of excess fabric that can happen above the bust.

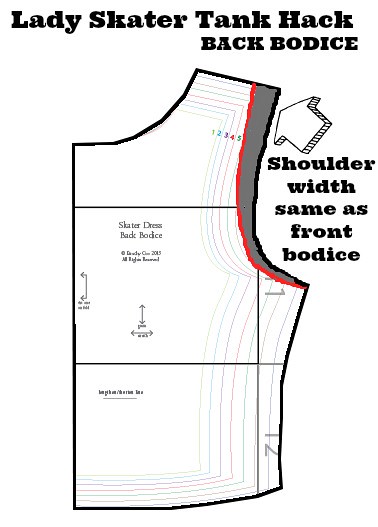
Lady Skater tank hack back bodice

After you've amended the front bodice, to amend the back bodice first ensure the shoulder width is the same as you're using for the front.  The back armhole is less curved than the front and pooling is less of an issue so you don't have to scoop into the curve, just remove a more-or-less uniform amount to account for the trim.  If you remove too much from the back armhole you risk the bra strap showing.  Make sure also that if you scooped into the armpit in the front bodice that you do the same to the back bodice so the side seams are still the same length.

 front skater bodice to tank band calc

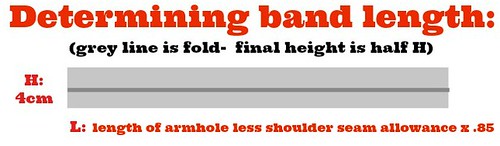
Once you have revised your armhole for both the front and the back, you'll need to determine the length of band you will use to trim.  To do so measure the new armhole (less the shoulder seam allowance) and multiply it by .85 for the length.  This percentage works for fabric that has some elastane / lycra / spandex but if your fabric has less stretch and recovery (for example interlock) you might find .9 works better.  For the height I personally tend to use 4cm (so 2cm on the fold) as it results in a trim rather than band appearance but feel free to increase the height if you want.  Remember that the more you increase your trim height, the more you need to remove from the armhole curve.

front skater bodice to tank armpit

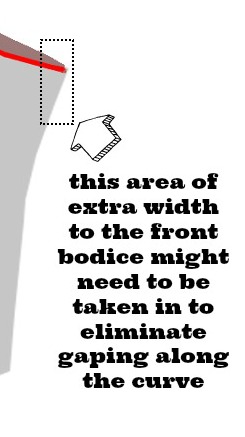
To sew on the band I follow the same process as the neckband in that I sew it on flat rather than in the round.  This is because I like to sew my side seams last so I can adjust any fitting problems then.  It is worth saying that if you're busty like me that you might find the extra wedge added to the front bodice piece needs to be removed in your sleeveless version.  With sleeves, this wedge reduces pulling across the chest and allows freer range of motion through the sleeve.  However, in a sleeveless version you might find that you need to pull the front bodice tighter at the armpit and sew the side seam closer (effectively pulling the band in and ) so that it hugs the curve of the bust without gaping.

Go forth and sleeveless!


Monday, 2 September 2013

1

This just in: Camping, Tattoos, Happy Suns, Scandiflower, and SWEATSHIRTING

New Lillestoff Collage

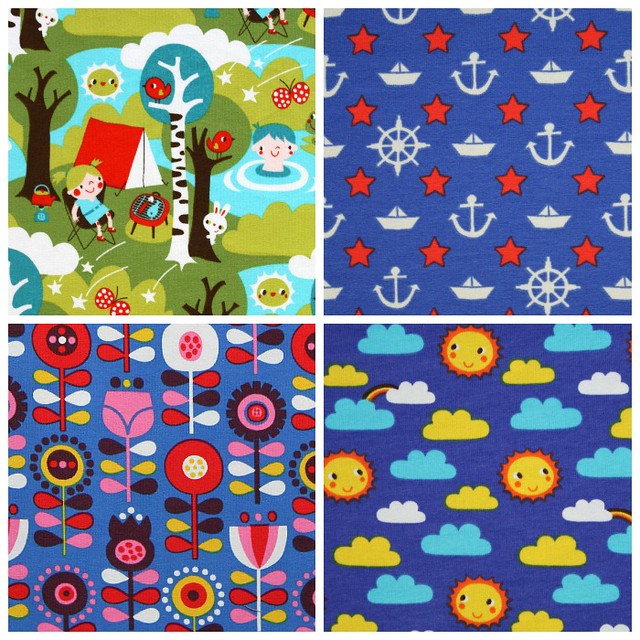
Seems like a blue theme this time with a small-scale tattoo print, a ditsy happy sun print, and our old favourite Scandiflower in a new, brighter colourway.  Not blue but awesome is Camping, in a fantastic palette of mossy greens, petrol, turquoise, red, and dark brown.  Not colours that are often seen together but that should end at once.

Sweatshirting Collage

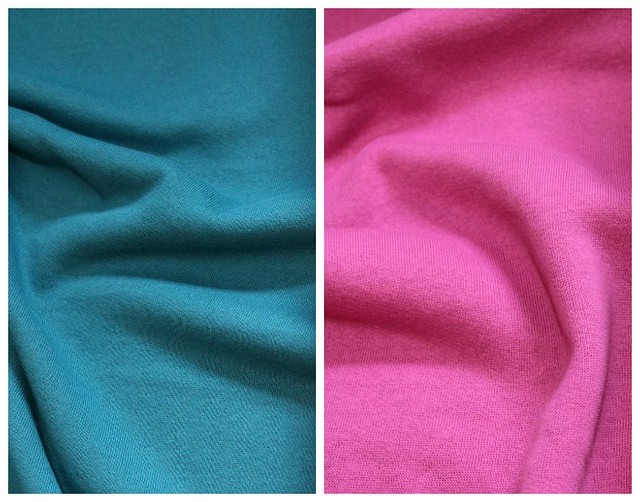
Also in the box were two gorgeous organic sweatshirtings!  They're smooth on the right side and deliciously soft and snuggly on the inside.  Although they are 100% cotton (ie without elastane), due to their high quality organic nature they have surprising good stretch recovery. Although I am generally one to grasp on to and lament the end of summer, these sweatshirtings are softening the blow. 

All new fabrics (and some restocked plain jersey solids including the long-awaited return of dark red) have now been added to the shop.  While you are there you might notice that I edited every single one of the 120 listings to make the lead pictures uniform squares.  When my shop theme changed earlier this year the photo sizes changed too and it's been driving me quietly demented.  I hope this improves the visual experience of the site for fellow pedants.