


Now that we feel a bit more confident about sewing knits, have printed and assembled our pattern pieces, decided on our first rendition, and cut our fabric, let fire up our machines! Starting with the iron....
**These instructions are an abbreviated form of the tutorial file. If you are confused about anything, please refer back to the file as the directions are longer and there are more pictures**
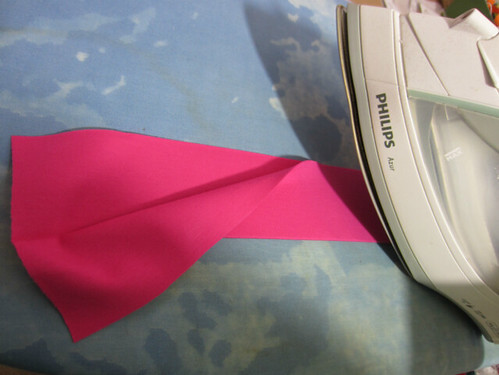
Wrong sides facing, iron all bands in half lengthwise to press in a crease. Fold all bands in half vertically and place a pin to mark centre.
If you have chosen a waistband and / or armbands this step if for you. If you're hemming sleeve and waist please skip ahead one step. No matter who you are, don't this to the neckband pretty please! Unfold a band and match up the short raw edges, right sides facing. Sew along this line. Repeat for all bands (except neckband of course) and place to the side for later.

Welcome back, hemmers :) Right sides facing, match the shoulder seam of the front and back pieces on one side. Pin and stitch. Don't you dare do it to the other side, we need it open for the next step.

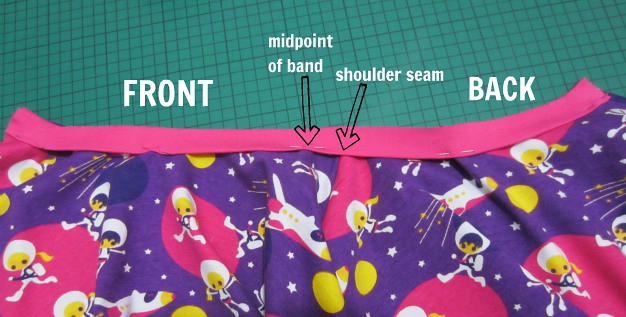
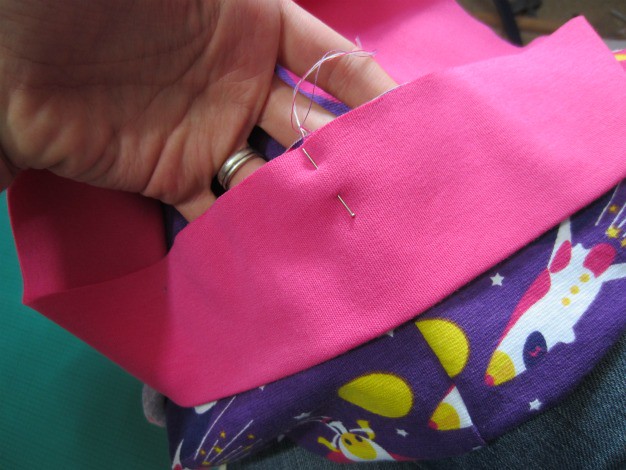
With the raw edges all facing to the top (band is still folded), pin one end of the neckband to the open front corner, the other end of the neckband to the open back corner. The pin that you placed at the centre of the neckband goes one inch along from the shoulder seam on the front side. Being deeper and more curved, the front neckline needs and deserves more of the band. Holding on to two of the pins, gently stretch so the band matches the neckline in between and do some more pinning. Repeat until you're happy that the band is evenly distributed.
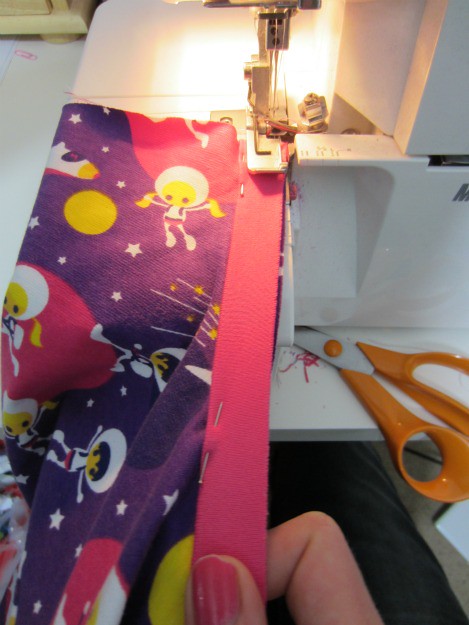
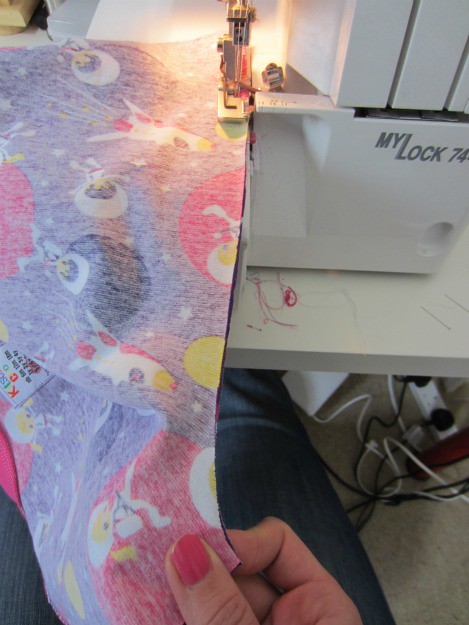
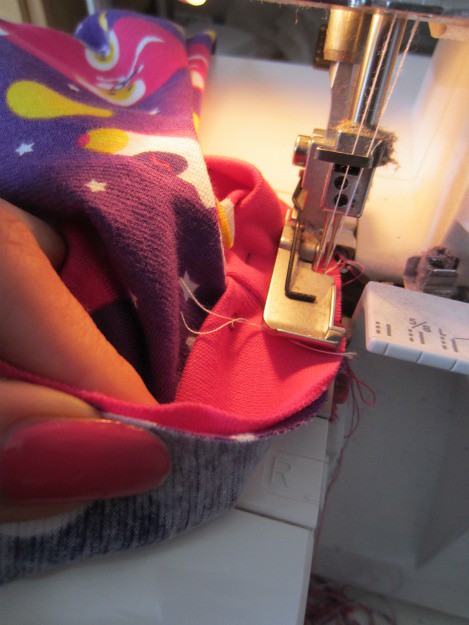
Starting at one end, sew the band to the neckline. As you are sewing, stretch the band so it is laying flat against the main fabric and all three raw edges are aligned. Don't stretch the whole neckline, just the band. Pulling just at the pins (where the band is already where it belongs) is a good idea; stop stitching when you get to the pin and restretch from the next one. Even though necklines are curved, as you are sewing the stretching makes them appear straighter.
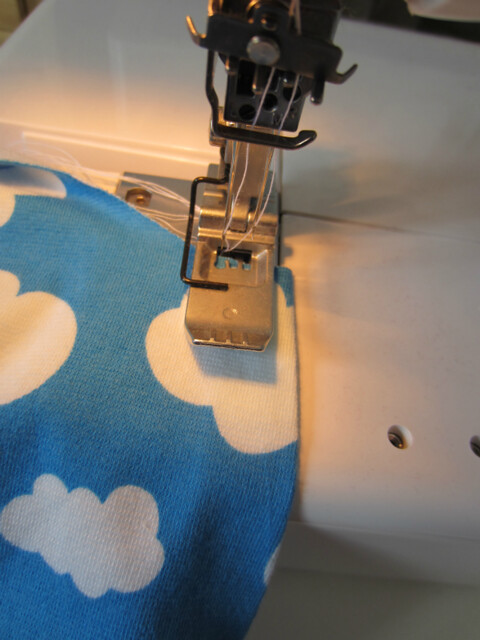
When you have finished, press really well with the iron so the seam allowance is flat against the main fabric. Then, set your stitch length a bit longer (I use 3.5) and carefully topstitch just under 1/4" away from the band. This keeps your seam allowance from popping over.

Now sew the other shoulder seam together as above. Pay particular attention to making sure the bands at the neckline are even as this will be the final neck edge on show. I tack them together on my regular machine first so they don't shift out of place when serging.
Arm-edge hemmers, now is your chance to shine. Everyone else skip the next two steps... Open the shirt out and press up the raw sleeve edges by 2cm.
Using your choosen manner of hemming (refer back to my suggested options if you need to) hem both sleeve edges.
All together again... Right sides facing, match the side seams of the front and back and pin in place. Sew along this seam, and then the other side. As you approach the arm curve pull gently so it resembles more of a straight line. Those of you who hemmed your sleeves (as above about the neckband) take extra special care that the sleeve edges are even as this is your finished sleeve.
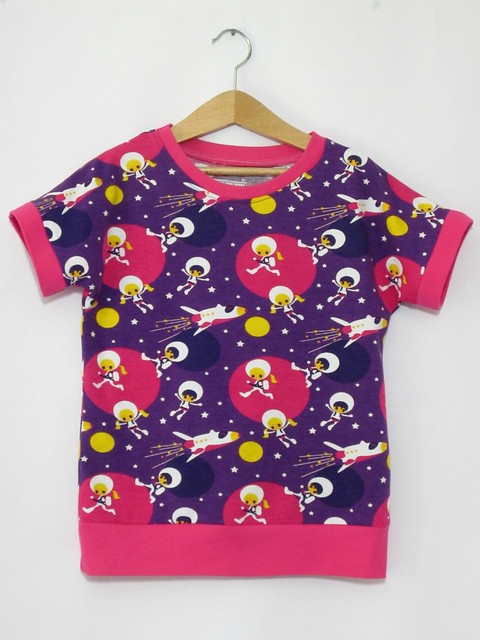
And now you have this! Except for Arm-hemmers, who have an even more advanced version.

If you are a smug arm-hemmer, skip two steps if you are planning a waistband or four steps if you are hemming the bottom edge too. You're almost done. Fold the arm cuff on the original fold line and slip it over the sleeve with the raw edges all together. The seam of the band matches the side seam of the top, the needle marking centre matches the shoulder seam. Continue all the way around the sleeve matching up the band with the sleeve and pinning.
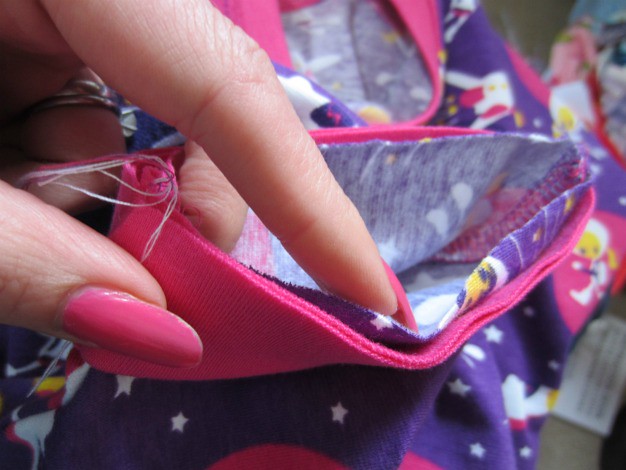
Sew all the way around, ensuring that all the edges are still where they are supposed to be. Repeat for other sleeve.
Only for waist-banders, hemmers two steps forward. Fold the waistband on the original fold line and slip it over the bottom of the top with the raw edges all together. The seam of the band matches the side seam of the top, the needle marking centre matches the other side seam. Continue all the way around the sleeve matching up the band with the top and pinning.
Sew all the way around, ensuring that all the edges are still where they are supposed to be.

Hemmers, back to you. Press the bottom edge up an even one inch all the way around. And then hem all the way round using your choosen manner of stitching (refer back to my suggested options if you need to).
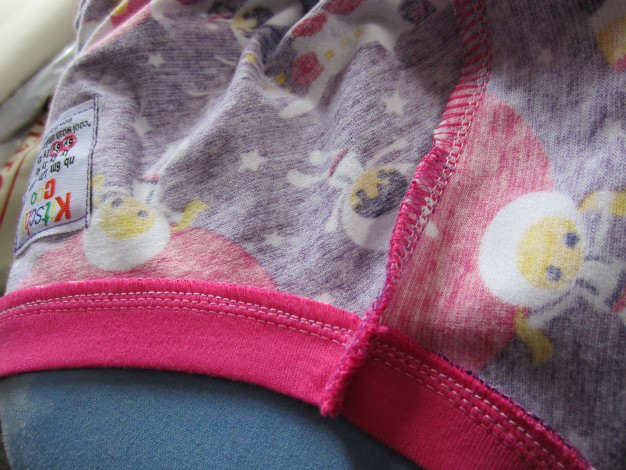
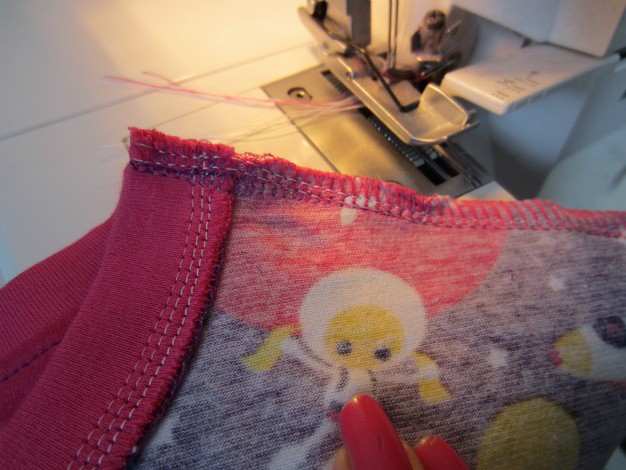
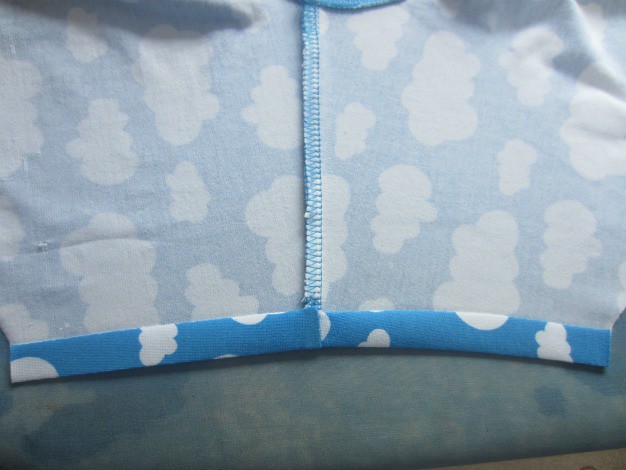
On the right side of the band front and back stitch several times to secure the seam allowance in the flat position. Repeat the same treatment to the the underarm seams if you hemmed them.

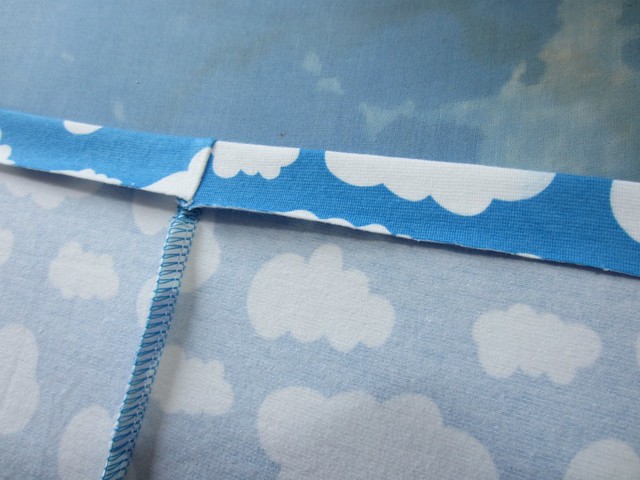
From the right side, the tacked down seam allowance will look like this.

*Optional: Topstitch the seam allowances of the arm and waistbands to the main fabric the same way you did the neckband. This will stop them flipping.*
And now you're done! Make sure that you post your creations to The Dolmaniacs Flickr group
_________________________________________________________________________
How is everyone feeling about the pace of the sew-along? I know some of you are waiting for needles, for illness to pass, to return from work-trips etc. Do you want me to take a couple of days respite so you can catch up and have a play around?
i haven't managed to get to the postoffice to collect my parcel yet! i think i'll be one of the slower ones!
ReplyDeletelove it, would you recommend this for a first sewing with knits project?
ReplyDeleteAbsolutely! I can't think of an easier knit pattern to start with and I'm here to help too :)
DeleteOnce I receive my parcel of goodies, and get my printer working I'll be getting to work! I'm so excited about this, especially since receiving my overlocker yesterday, I feel the need to overlock everything lol
ReplyDeletewell the goodies have arrived, THANKYOU :D, but the printer will not play ball. boo. Will have to wait until the husband gets home so he can try and fix it. I'm itching to get started!!!
ReplyDeleteCouple of days respite please, we still have a large cross painted on our front door.
ReplyDeleteI'm hooked! Dolmans 1 & 2 completed! fab pattern, excellent tutorial, I'm in love.
ReplyDeleteLove. This. Pattern. I've finished #4, so I'm going to take a little break myself, but there are a couple more in me yet...
ReplyDeleteStill waiting for my needles and the *(!"^~# Jubilee events seem to be going on forever! Pattern downloaded traced and fabric cut out and I am assured that my needles have been shipped, so this weekend ...
ReplyDeleteThank you for a great tutorial! I'm really pleased with how my first one has come out and am planning number 2!
ReplyDelete