

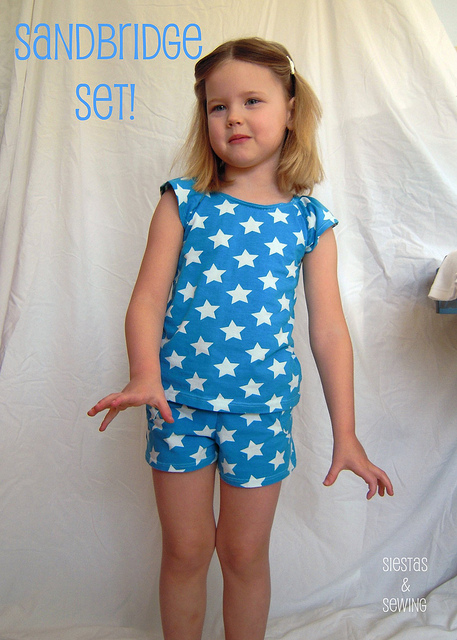
I know. I don't believe she has four kids either. As well as very kindly agreeing to guest post, Cindy has also provided tutorials and patterns for what she made! Introducing The Sandbridge Set.....
___________________________________________________________________
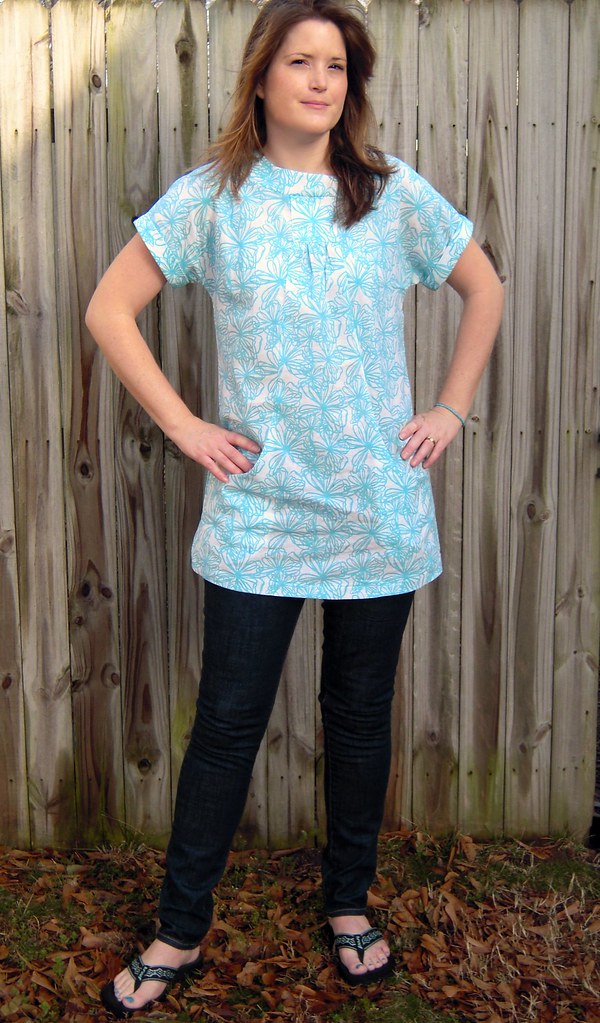
I was super excited when Amanda asked me to share a little about my experiences with knit sewing and to do a project. It just so happened that I'd been kicking around the idea of drafting a shorts and top pattern for my little girls who are almost 7 and 5. Their usual summer "uniform" is a knit top and shorts...clothes perfect for 2 very active little girls. Taking a pair of Old Navy shorts they wore last year and a favorite Gymboree top, I traced around the clothing and made my own pattern. Now, I'm not an expert on doing this. Most times, I work from an existing pattern and tweak it to suit my needs. There are several tutorials out there on how to draft patterns from clothing. Dana of Made has one HERE. But if you know a little girl who fits in a 5/6, you're in luck!
Once you figure out what works for you and your machine, knits aren't scary. I have had some massive fails along the way but I've also discovered a few helpful tricks. Most of my knits sewing is done on my sewing machine since I don't have a serger. I use a stretch stitch (the one that looks like a lightening bolt) and a nifty stitch that seams and overlocks (my fave!):
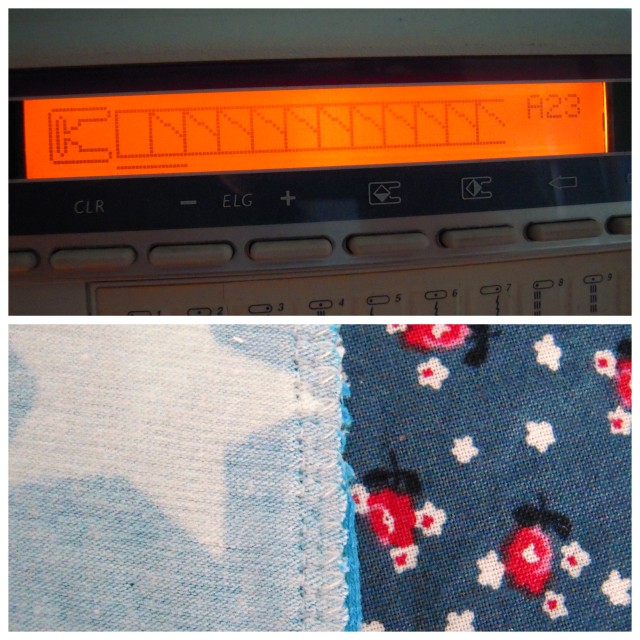
When I do use a straight stitch for topstitching, I lengthen it from 2.5 to 3. That's to help prevent the dreaded popped stitch. Keep in mind that most seams need to have a little give in knits. Nothing is worse than having your kid pull on a top and hearing the stitches pop!
When I do use a straight stitch for topstitching, I lengthen it from 2.5 to 3. That's to help prevent the dreaded popped stitch. Keep in mind that most seams need to have a little give in knits. Nothing is worse than having your kid pull on a top and hearing the stitches pop!
Thread is important too. You will want to use a polyester or nylon thread as synthetic thread has a little give. For hemming, I either use a twin needle with wooly nylon (bulky nylon) hand wound on the bobbin--a trick I learned from Katie--or a faux cover stitch on my machine.
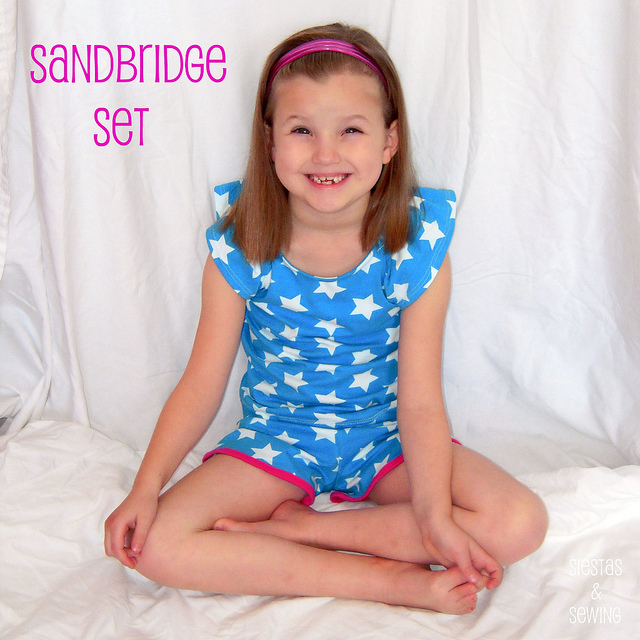
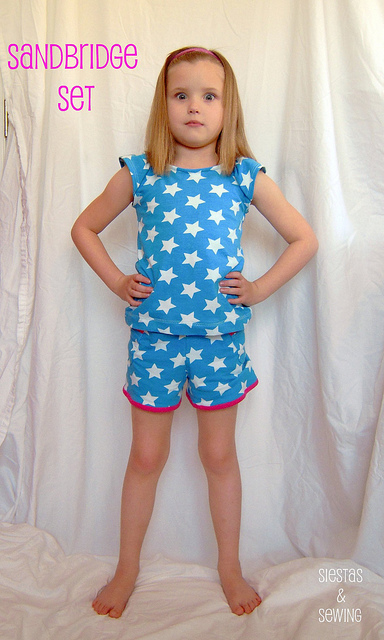
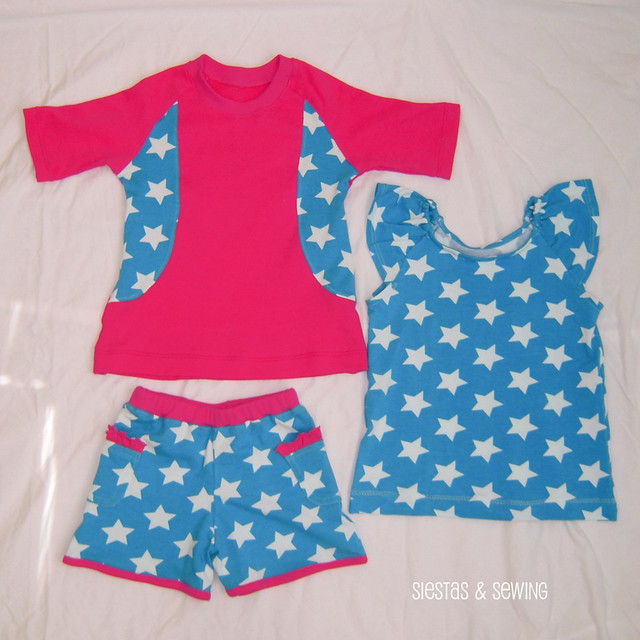
The Sandbridge top and shorts are named after a favorite beach of ours. We're a beach lovin' family and spend most of our summer hanging out in Sandbridge. The Sandbridge shorts are quick to make...especially if you leave off the pockets. There are all kinds of ways to change the look of the shorts.
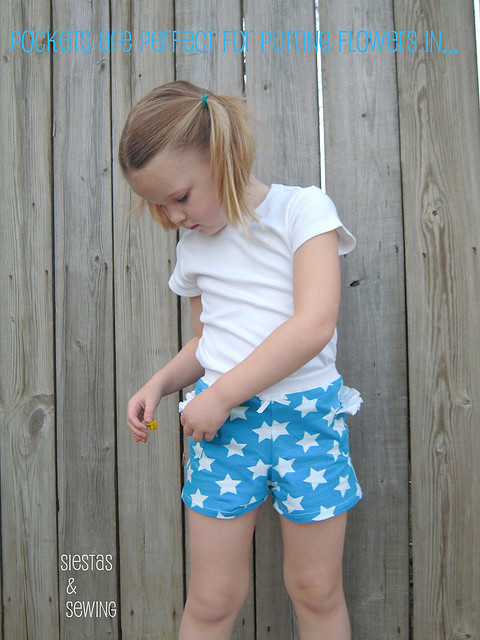
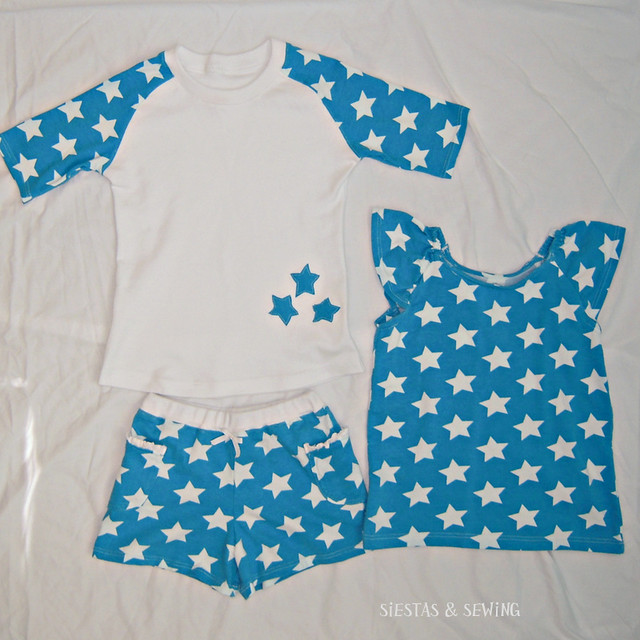
On the blue/white pair, I simply pressed up the hems and stitched with the twin needle.
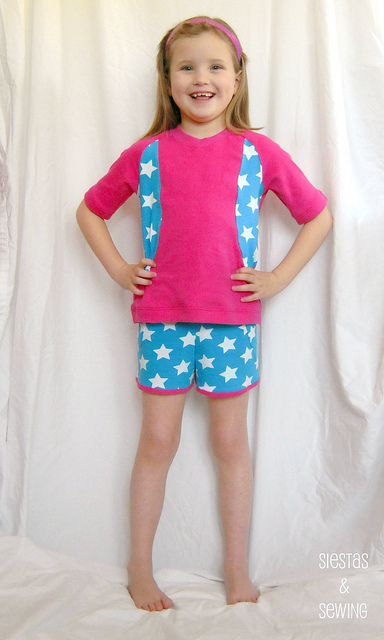
But on the pink pair, I decided at the last minute to finish the leg openings with a contrast binding. You could gather the legs slightly before adding binding to get more of a bloomer look. Or one could make a slit on the outseam hem. The possibilities are endless!
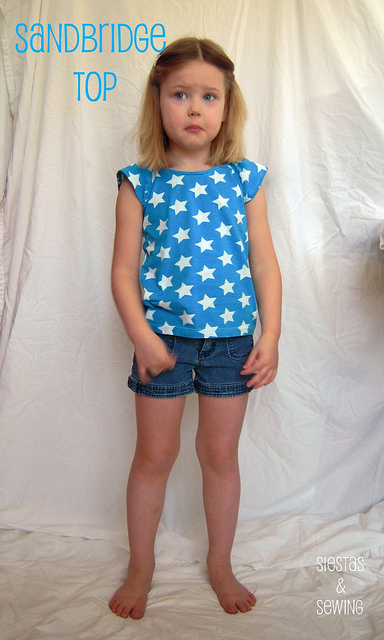
The top is a little more fiddly since you will be finishing the front/back necklines and armholes with binding. But the end results are worth it.:)
On the blue/white pair, I simply pressed up the hems and stitched with the twin needle.
But on the pink pair, I decided at the last minute to finish the leg openings with a contrast binding. You could gather the legs slightly before adding binding to get more of a bloomer look. Or one could make a slit on the outseam hem. The possibilities are endless!
The top is a little more fiddly since you will be finishing the front/back necklines and armholes with binding. But the end results are worth it.:)
The Sandbridge top and shorts do not take much fabric. I was able to get 2 pairs of shorts and 2 tops from the metre of fabric Amanda graciously sent me. I also had enough scraps left over to dress up 2 Ottobre Design Raglan t-shirts (01/06 #17). Here's everything together!
Cindy has very graciously posted the patterns and tutes for the Sandbridge Top and Shorts in Google Docs. Links as follows:
Cindy has very graciously posted the patterns and tutes for the Sandbridge Top and Shorts in Google Docs. Links as follows:
The Sandbridge Top tutorial
Top Piece 1
Top Piece 2
Sleeve Piece
The Sandbridge Shorts tutorial
Front Piece
Back Piece 1
Back Piece 2
Top Piece 1
Top Piece 2
Sleeve Piece
The Sandbridge Shorts tutorial
Front Piece
Back Piece 1
Back Piece 2
Wow! Awesome haul out of your meter!! I love the ruffled pockets on the shorts. Seriously adorable!
ReplyDeleteFab! I'll bookmark the pattern for when munchkin is a bit bigger. Then I'll just need to live somewhere that doesn't have constant rain instead of a summer :)
ReplyDeleteGreat job Cindy! Everything turned out so well...the two girls look lovely in the blue (and pink!) It is amazing how much you squeezed out of a metre!
ReplyDeleteCindy,the knit queen!
ReplyDeleteBrilliant! Great read.
ReplyDeleteI love this set. Thanks so much for the pattern and tutorial!! Posting on my "Nanny's Kids - Sew Much Love" Pinterest board.
ReplyDelete