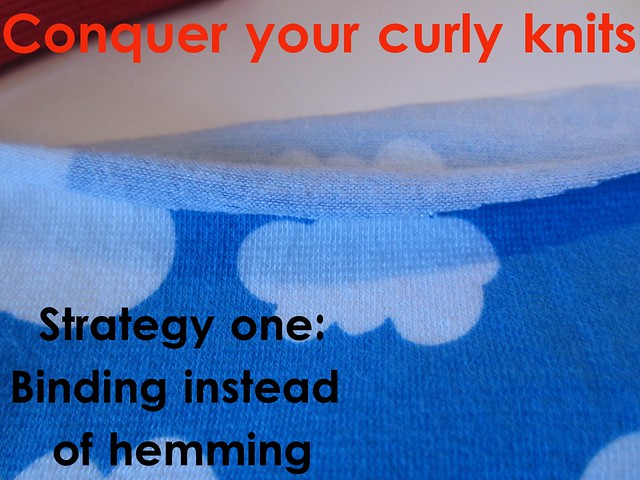
The biggest anxiety about sewing with knits that comes up again and again whenever I ask is trouble when hemming. There's a lot of things you can do to help this process but the easiest by far: don't hem. There are many ways to avoid hemming (leaving it raw, serging or overcasting the edge, rolling the hem, lettuce edging, etc) but the one I use the most is making bands for the edges. Obviously this isn't the golden solution to all knit projects, but applying a binding to a raw edge can be done to so many garments:
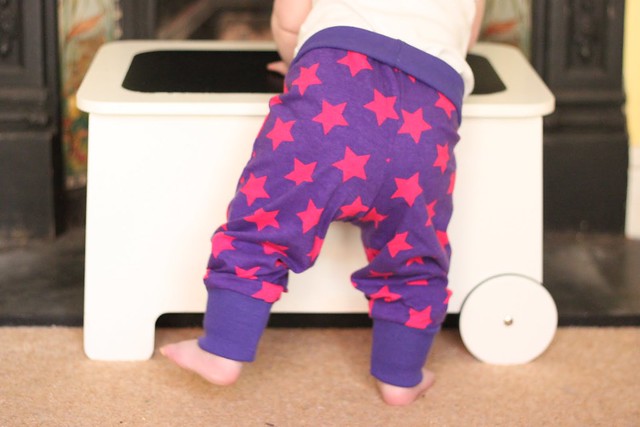
For trousers, you can use ribbing for the waistband and ankle cuffs...
Ribbing quite often give garments a casual or sporty look, so for a dress, you can use a narrower interlock to edge your sleeves and neckband. Although I did hem the bottom edge :) My yoga leggings pattern and boy cut briefs pattern are also both designed to be sewn without hemming so if it gives you angst, my advice is just to avoid it until you get more confident!
This work-around is especially good for sewing a knit with a curly edge as the double folded binding works as a stabiliser and helps you tame that curl. Here's how I do it:
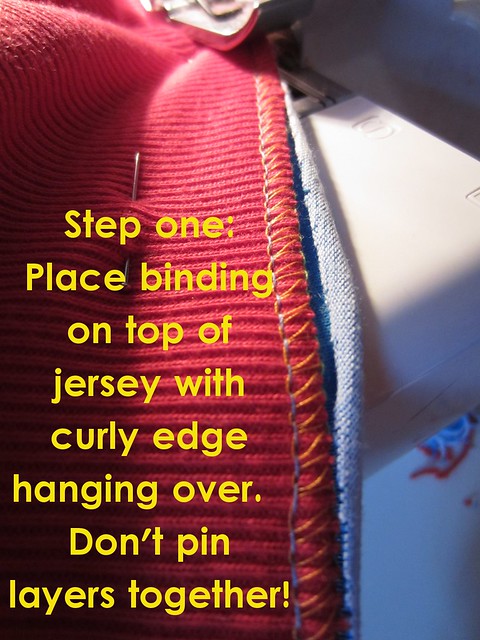
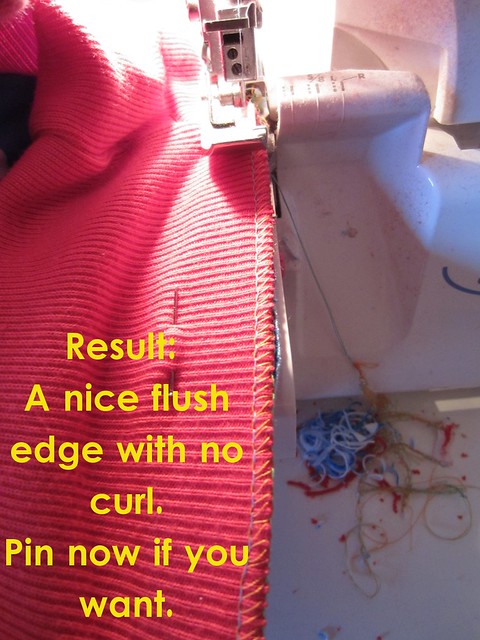
In this picture I'm sewing a waistband onto a pair of cotton / lycra jersey trousers. The serged edge of the ribbing that you can see is securing the elastic to the inside of the band rather than the two raw edges together, and the pin is keeping the ribbing layers from shifting. The waistband is pinned to the trousers at the quarter-points only, and I'm letting the curl hang over in between.
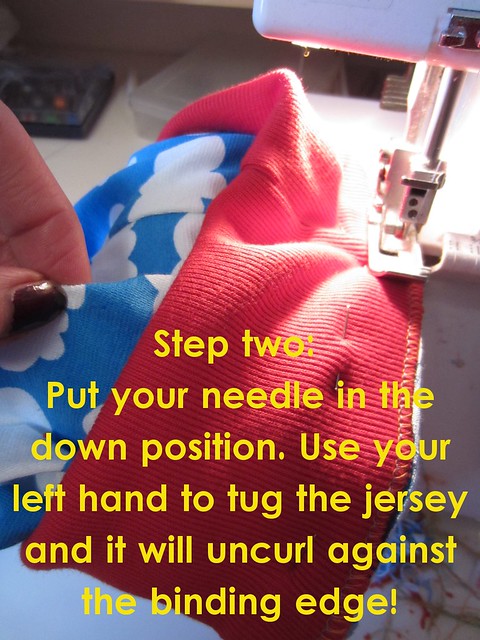
If my right hand wasn't currently taking this picture, it'd be pulling the ribbing / elastic waistband taut between the first two quarter point (needle and foot down at point one, right hand pinching at point two). Once it is taut and matches the width of the trouser edge, I use my left hand to tug the trousers gently so the weight and tautness of the waistband uncurls the jersey edge until all of the edges are flush.
Now you can start sewing, repeating the process between each of the quarters. This technique will also help you stretch-only-the-waistband-and-not-the-jersey as you sew, which leads to the wavyness that we hate with knits.
I'm hoping to organise all of these knit fabric posts (and my tutorials in general) in a much more obvious / less hidden way but in the meantime:
- My general introduction to sewing with knits from a couple of years ago
- A more in-depth tutorial of different types of knit bindings
- Basic introduction to different types of knit fabrics and some pros and cons of each
- And if you are on Pinterest, make sure you follow My Sewing with Knits board as I'm pinning all the knit-centric tutorials and projects that I come across




Fab, I am wanting to try this (previously for my t-shirt dresses I just now leave raw! Kx
ReplyDeleteRaw is cool, I do that too for interlock but the curly knits just pop up if unhemmed and drives me nuts!
DeleteThank you, its good to know how to do it properly and you're also troubleshooting some of those things that happen- I've just made something with a band that went wavy- now I know why!( minimal lycra jersey didn't help matters!).
ReplyDeleteYeah, it's really important not to stretch the main fabric (especially if it doesn't have lycra). Iron, iron, iron is normally really helpful for waveness, but for some fabrics it's inevitable :)
DeleteSo where do you get all your fabulous ribbing? I've only seen it a couple of times in stores; do you order yours online?
ReplyDeleteMy supplier is a sportswear manufacturer in the UK. Americans, can anyone help out with your sources?
DeleteAny tips re: taming curly jersey are really welcome, so I read this tutorial with great interest!
ReplyDeleteI tried this method on my normal sewing machine, but was lamenting the fact that it didn't have a "trench" to the right side of the needle like yours does (which seems to help with uncurling the curly fabric - or doesn't it?)
In any case, I didn't really succeed getting the curly jersey to behave (I was attempting to sew a double-folded collar from self fabric onto the shirt's neckline... so all three layers were curling up...)
Anyway, I had another look at your pictures with this tutorial, and am now wondering: are you sewing with your serger here? With the blade in the unused position and only one needle? And if so, do you sew all your knits this way?
Thanks!
SabineC
Hi Sabine, sorry you're having trouble! I am indeed using my serger in these pictures, blade in use (but in the down position in the pictures) and with a single right side needle. I do tend to use the serger with knits purely because I have one, but I do use my regular machine sometimes too. Like for my bathing suit because I trust triple stretch stitch more than a serged seam :) The trench that you refer to on the serger doesn't help tame curls as such, although I will maybe drag the fabric across it to flatten a curly edge before putting it under the foot if the curl is facing down.
DeleteIf you're sewing a double fold to a neckline, two of the edges should be curling against each other rather than all three curling in the same direction. So that would either be (depending on how you folded it) the two edges of the neckband both curling to the inside while the neckline curls down, or both edges of the neckband curling out and the neckline curling down. The key is to use the curls going in different directions to stabilise and hold each other in a non-curled position. And to stop every couple of inches to realign the edges. Did you see my video on stretching small bands to fit larger openings? It's here if you didn't: http://kitschycoo.blogspot.com/search/label/video%20tutorials
Other thoughts... Maybe stretch stitching the two curly edges of the neckband together close to the edge would give it enough stability to tame the neckline edge? I've also heard people swear by spray starch too, although I've never used it. Good luck!