Monday, 19 May 2014
5
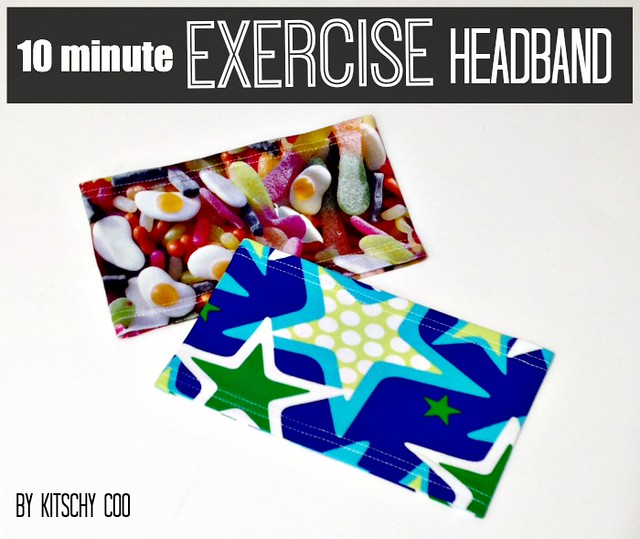
Since taking up running again, I've had to battle with how to keep my hair out of my face now that it's too short for a ponytail. Big, fat headbands are the solution! They're tall enough to keep all my hair from blowing forward into my face (and also cover my perennially cold ears), but thin enough to scrunch up under my hair at my neck without being bulky. Have a lot of knits scraps? Have unruly, pesky hair? Have ten minutes? Let's go!
Fabric requirements: You really need fabric with lycra in it so that it will not only stretch but recover enough to stay on your head firmly. Interlock and 100% cotton jersey are a nope.
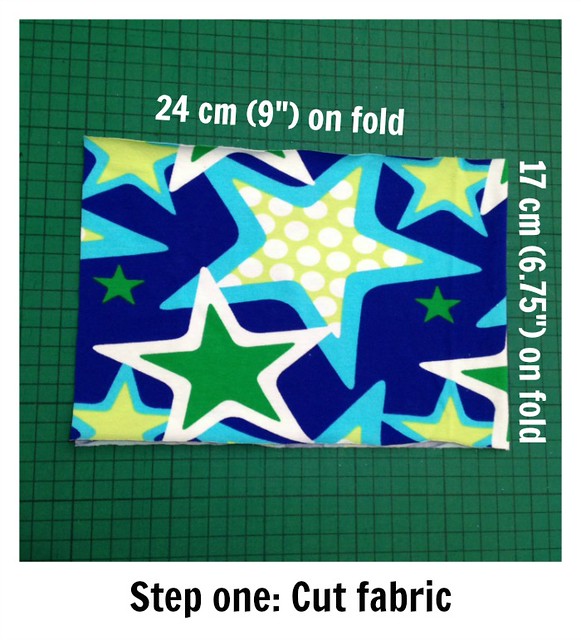
On the fold, cut your fabric so that it is 24cm wide (48cm unfolded) by 17cm tall.
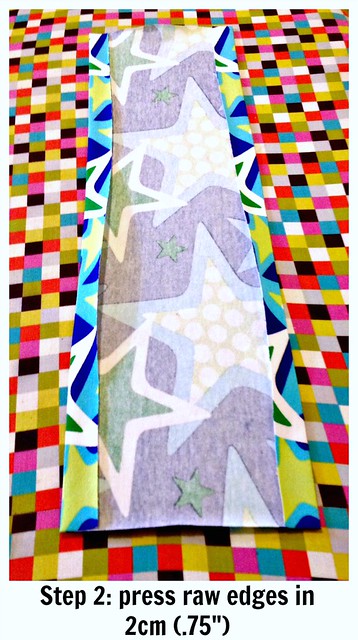
Press the raw edges towards the wrong side by 2cm.
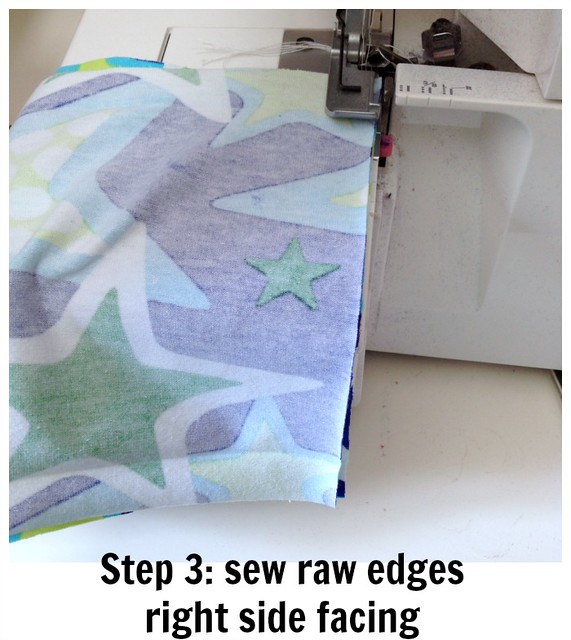
Right sides facing, sew the 17cm tall raw edges together.
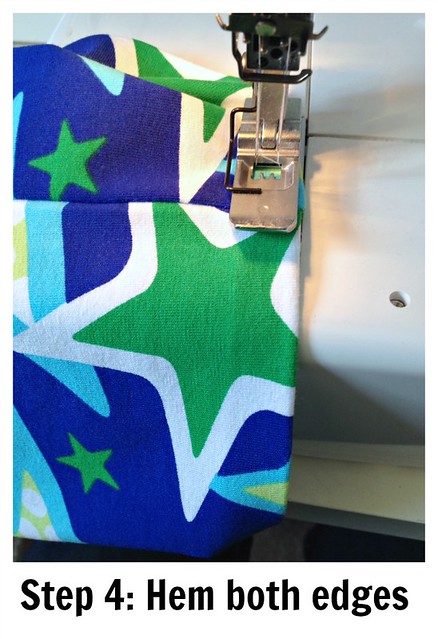
Hem the long edges that you previously pressed in step two. I'm using a coverstitch because I'm lucky enough to have one, but you can also use a twin needle in a regular machine, or any other stretch stitch that will stretch without breaking. That's it!
Optional but not recommended: Have a child steal it.
Tutorial: 10 Minute Exercise Headband
Since taking up running again, I've had to battle with how to keep my hair out of my face now that it's too short for a ponytail. Big, fat headbands are the solution! They're tall enough to keep all my hair from blowing forward into my face (and also cover my perennially cold ears), but thin enough to scrunch up under my hair at my neck without being bulky. Have a lot of knits scraps? Have unruly, pesky hair? Have ten minutes? Let's go!
Fabric requirements: You really need fabric with lycra in it so that it will not only stretch but recover enough to stay on your head firmly. Interlock and 100% cotton jersey are a nope.
On the fold, cut your fabric so that it is 24cm wide (48cm unfolded) by 17cm tall.
Press the raw edges towards the wrong side by 2cm.
Right sides facing, sew the 17cm tall raw edges together.
Hem the long edges that you previously pressed in step two. I'm using a coverstitch because I'm lucky enough to have one, but you can also use a twin needle in a regular machine, or any other stretch stitch that will stretch without breaking. That's it!
Optional but not recommended: Have a child steal it.
Thursday, 15 May 2014
15
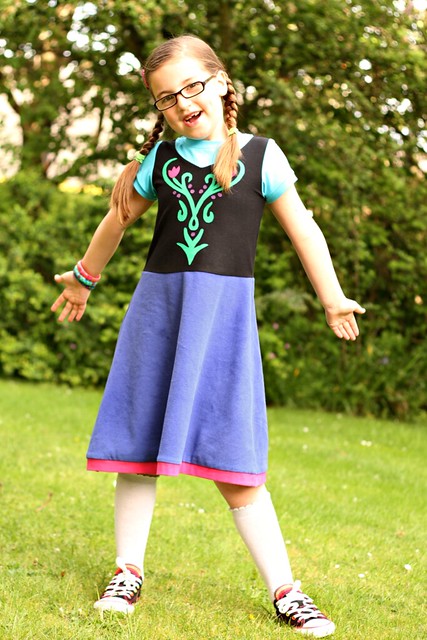
It was the girl's birthday yesterday, can you guess how old she is (clue above)? How times flies / I can't believe it / where's my baby ad infinitum.
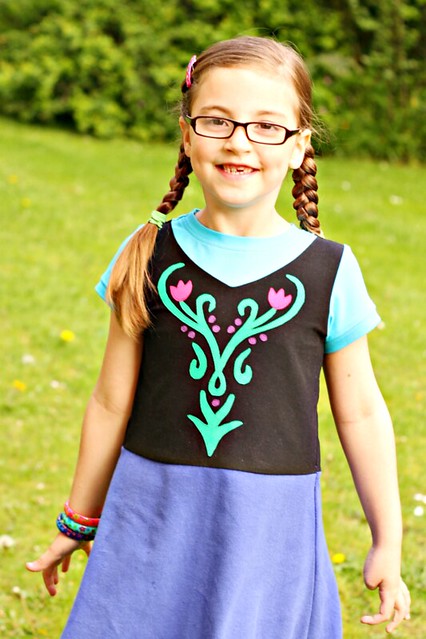
She's been bitten by the ubiquitous Frozen bug so I wanted to make her an Anna dress. She probably would've broken her No Wovens rule for a more accurate replica, but I wanted to make one that wasn't too costumey, and fit in with her everyday play-friendly wardrobe.
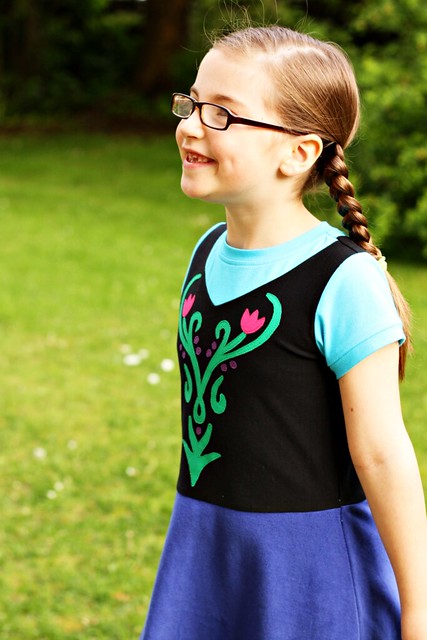
As you can probably tell from the silhouette (and my previous form for hacking my patterns rather than starting from scratch), I used my skater pattern as a starting point.
I raised the neck and then split it so it looks like there's an undershirt with a pinafore over the top- not so, it's a single bodice!
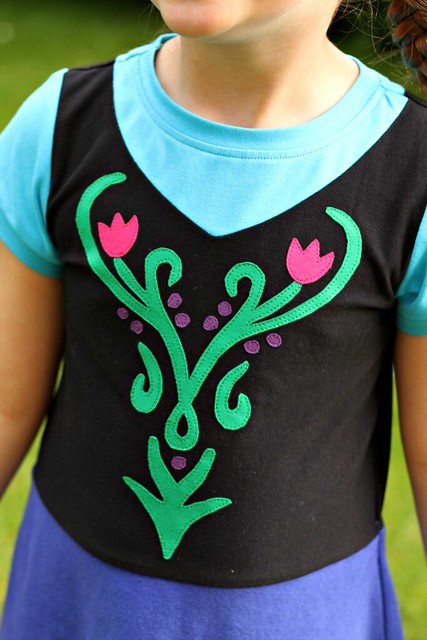
I found some templates for the bodice design and combined, resketched, and scaled it so it would be a good fit. Then I ironed Heat n' Bond onto different coloured jerseys, cut them out, positioned and ironed them into place, and then stitched them on. Much easier (for me) than stencilling, and provides a nice texture.
Rather than appliqué the skirt in the same manner, I added a band of fuchsia at the bottom instead of a hem so it ties in with the overall colour scheme and adds a bit of length. The overall effect is 'Come at me, yo'.
I'm so, so grateful for this little big girl in my life. She so gracious and enthusiastic it's an absolute joy to make her happy.
Frozen Goes Casual: The Anna Skater
It was the girl's birthday yesterday, can you guess how old she is (clue above)? How times flies / I can't believe it / where's my baby ad infinitum.
She's been bitten by the ubiquitous Frozen bug so I wanted to make her an Anna dress. She probably would've broken her No Wovens rule for a more accurate replica, but I wanted to make one that wasn't too costumey, and fit in with her everyday play-friendly wardrobe.
As you can probably tell from the silhouette (and my previous form for hacking my patterns rather than starting from scratch), I used my skater pattern as a starting point.
I raised the neck and then split it so it looks like there's an undershirt with a pinafore over the top- not so, it's a single bodice!
I found some templates for the bodice design and combined, resketched, and scaled it so it would be a good fit. Then I ironed Heat n' Bond onto different coloured jerseys, cut them out, positioned and ironed them into place, and then stitched them on. Much easier (for me) than stencilling, and provides a nice texture.
Rather than appliqué the skirt in the same manner, I added a band of fuchsia at the bottom instead of a hem so it ties in with the overall colour scheme and adds a bit of length. The overall effect is 'Come at me, yo'.
I'm so, so grateful for this little big girl in my life. She so gracious and enthusiastic it's an absolute joy to make her happy.
Saturday, 3 May 2014
6
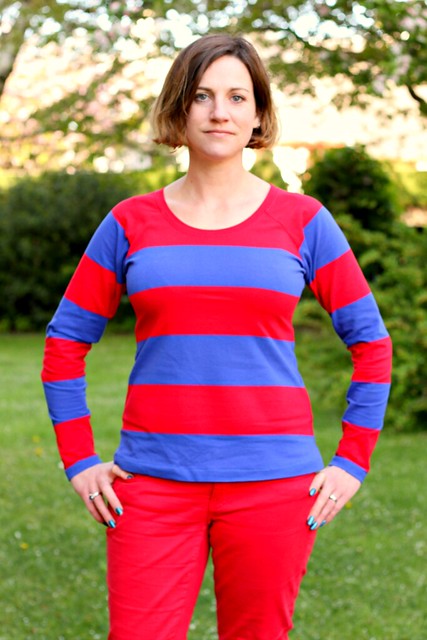
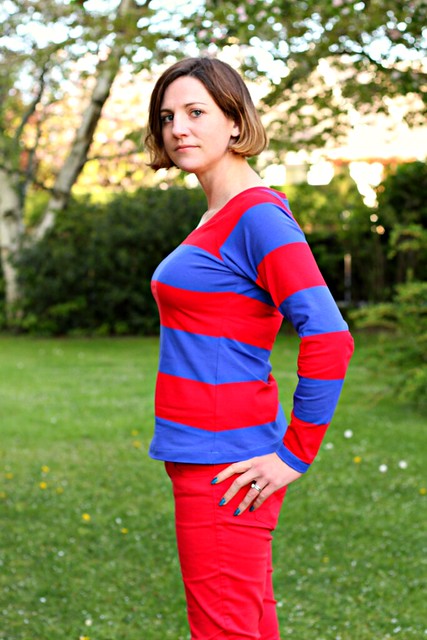
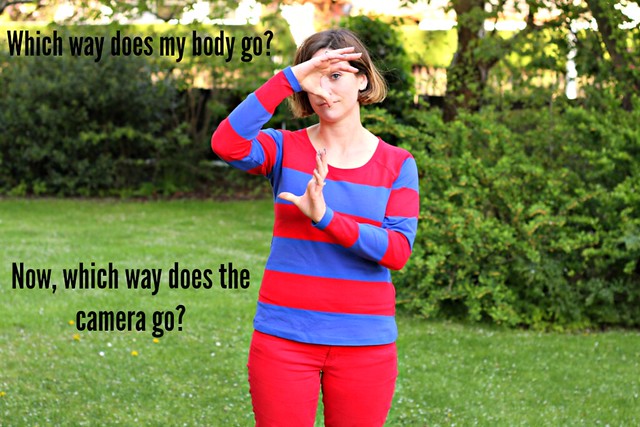
Despite my best intentions, I normally miss the boat when it comes to participating in sewing series but due to the confluence of Selfish Sewing Week, Spring Top week, Me-Made-May and Need Moar Long Sleeves Year I've got a make that fits all four! Step forward low scoop Trifecta Top in XL stripes.
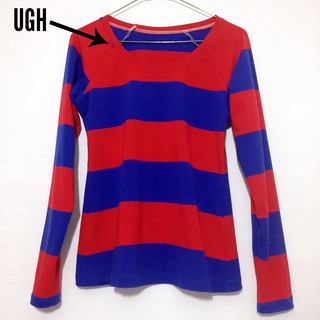
These stripes are the best because I have both red and royal blue jeans to match, but I find sewing stripes more laborious for trying to get them to match over the side seam. I think I've cracked it, though: rather than matching them up perfectly when you run them under the serger, shift it so the stripe on the top falls a teensy bit below the stripe on the bottom. The feed dogs will push the bottom layer forward while running it under the foot and suddenly they're aligned! Caveat lector: this is true with my machine, perhaps not others. So focussed was I on matching the stripes that I completely dropped the ball on the neckline! That tiny bit of blue on the left side drove me demented and I could not leave it as such. A seam rip and fix the next day and all is well in the world again.
I'm not getting very many 'proper' photo shots of my Me-Made outfits recently- I even made a dress for a wedding last weekend without getting pictures. Sad! Steven really hates being the recipient of this face taking my picture.
Selfishly Sewing in Spring
Despite my best intentions, I normally miss the boat when it comes to participating in sewing series but due to the confluence of Selfish Sewing Week, Spring Top week, Me-Made-May and Need Moar Long Sleeves Year I've got a make that fits all four! Step forward low scoop Trifecta Top in XL stripes.
These stripes are the best because I have both red and royal blue jeans to match, but I find sewing stripes more laborious for trying to get them to match over the side seam. I think I've cracked it, though: rather than matching them up perfectly when you run them under the serger, shift it so the stripe on the top falls a teensy bit below the stripe on the bottom. The feed dogs will push the bottom layer forward while running it under the foot and suddenly they're aligned! Caveat lector: this is true with my machine, perhaps not others. So focussed was I on matching the stripes that I completely dropped the ball on the neckline! That tiny bit of blue on the left side drove me demented and I could not leave it as such. A seam rip and fix the next day and all is well in the world again.
I'm not getting very many 'proper' photo shots of my Me-Made outfits recently- I even made a dress for a wedding last weekend without getting pictures. Sad! Steven really hates
Subscribe to:
Posts (Atom)


